| Previous | Home | Next |
| Profiling & Gluing |
|
Profiling the Body
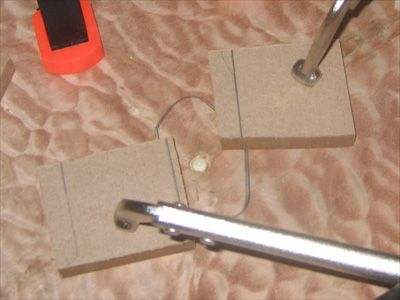
After all the build up, it's time to make a guitar! I went through several passes at making the routing templates and finally landed on 1/2" MDF. It's easy to cut, finishes nicely and it's thick enough that the router bit is managable. A template that is too thin is a problem from a stability stand point and it requires more passes to complete the profile or routing of cavities.
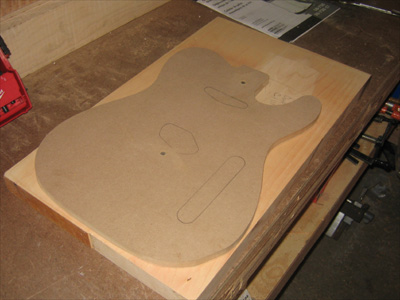
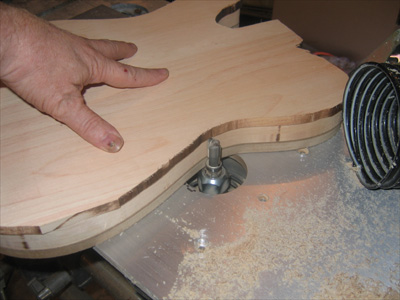
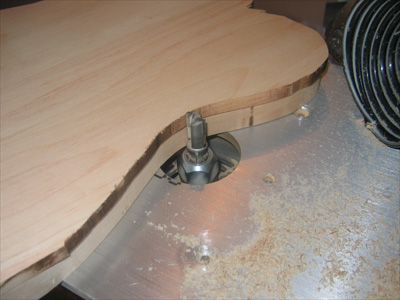
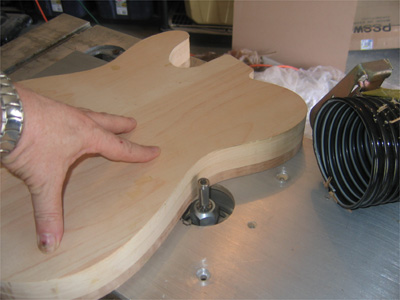
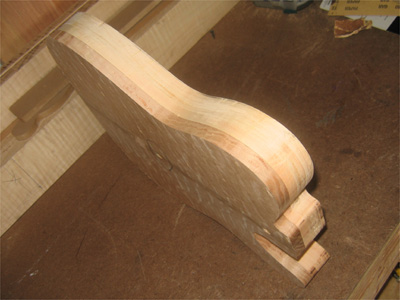
With avertthing laid out and traced, it's off to the band saw...well, I did rough cut the body, I just didn't stop to take picture. So, let's pick it up at the router table. I began by taking a first pass that was about 2/3 the thickness of the body. After a full pass I was able to remove the template and profile the rest of the edge by using the body as my guide. I have a couple of low spot that need attention...a quick pass through the surface planer should solve the problem.
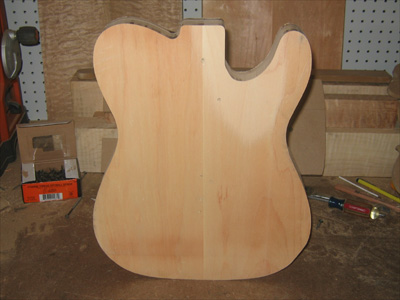
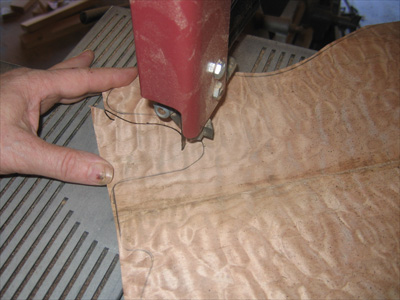
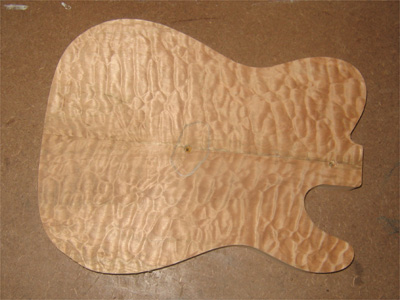
Next I rough cut the top on the band saw to get it close and make profiling easier after everything is glued up. Now you might wonder why I didn't glue the top and back together before profiling. Well, I noticed that my top had cupped a bit over the weeks of sitting in the shop since planing. My thinking was that I would get better clamping pressure at the edges if the shape was as close to final profile as possible before gluing. And let's face it. I'm no pro so rough cutting the body back first gave me a bit more confidence before tackling the top...that and 20 or so passes during template making. So, now I have the back and top rough cut...on to gluing.
Gluing the Top and Back
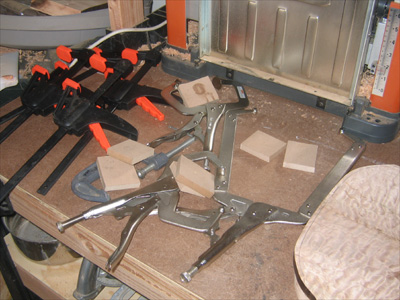
The top is only "slightly" wider than the back so I decided to use a couple of screws to locate the top during glue up...the holes left by the screws will be routed away later. After locating and screwing the top to the back, I went on with a dry fit to make sure I had all I needed to get the top down firmly.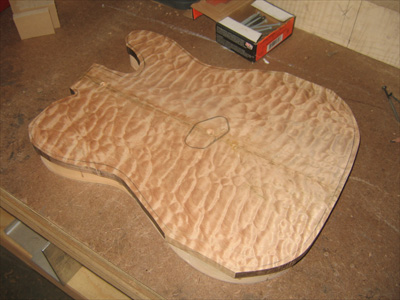
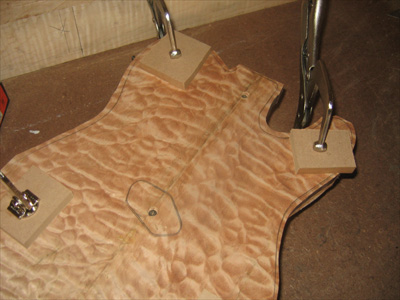
This also sized all of my clamps and I was able to just set them aside, with their caul blocks, so they would be ready to snap in place once the glue went down.
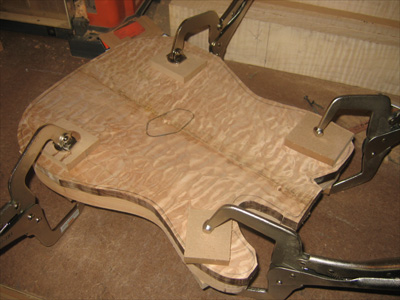
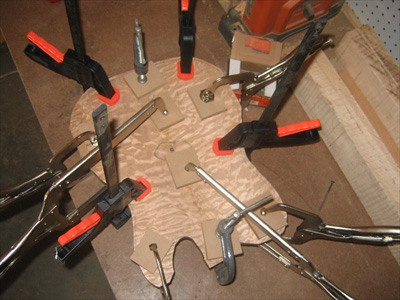
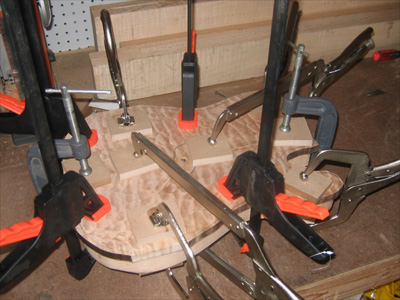
It is a very warm, dry day so I had to keep picture taking to a minimum during gluing but here are some shots of the clamped up piece. I am getting good "squeeze out" all around so I feel good about my plan of rough cutting before gluing. As I added clamps in the areas, I removed the screws to make sure they weren't binding and keeping a clamp from hitting home.
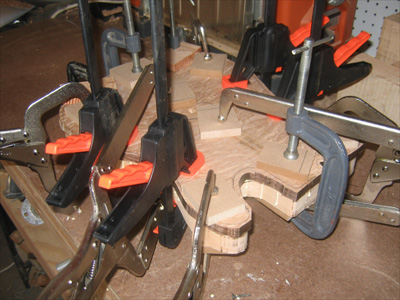
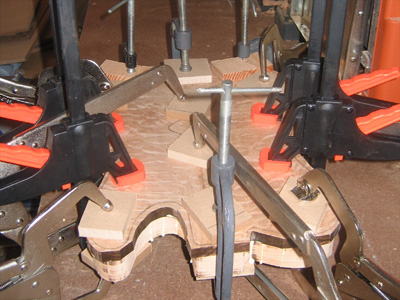
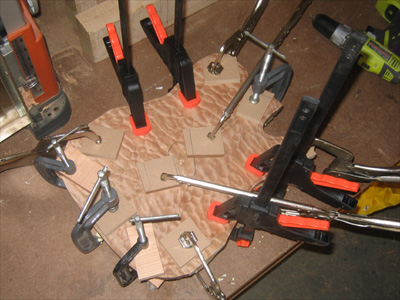
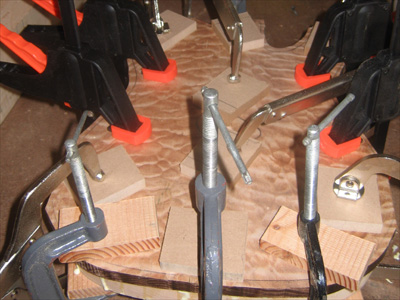
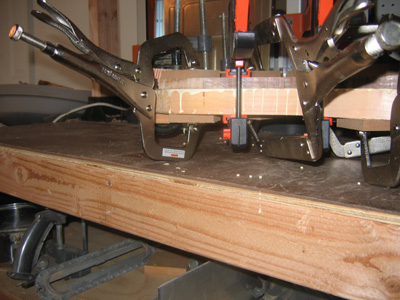
I even got a little glue gyser coming through a screw hole so I am confident I got even pressure on the top.
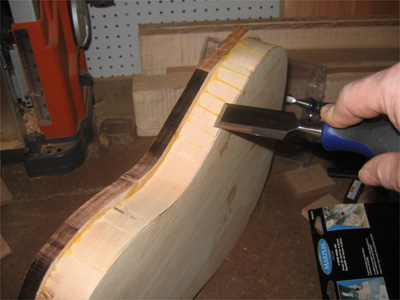
After removing the body from the clamps, I had a lot of glue to clean up...a chisel and some 80 grit made it easy.
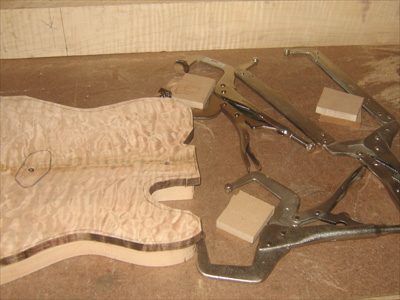
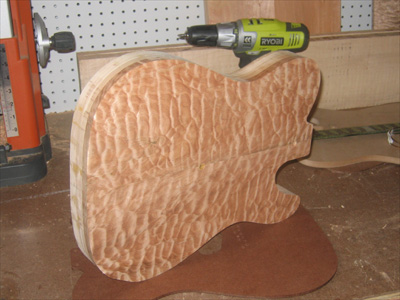
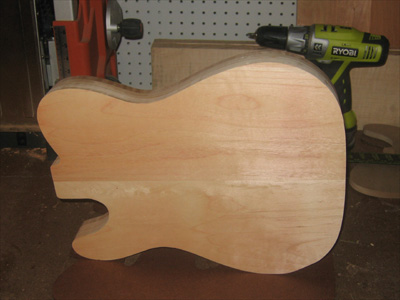
I changed out bits in the router to a flush cut bit and, using the body back as a template, I profiled the top to match.
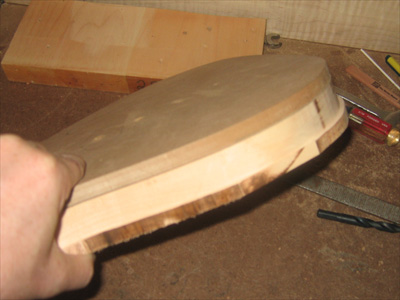
Here are some shots after profiling...
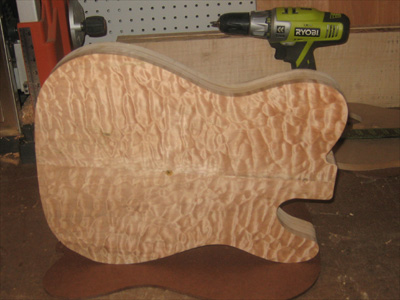
And after a very light pass thru the planer...
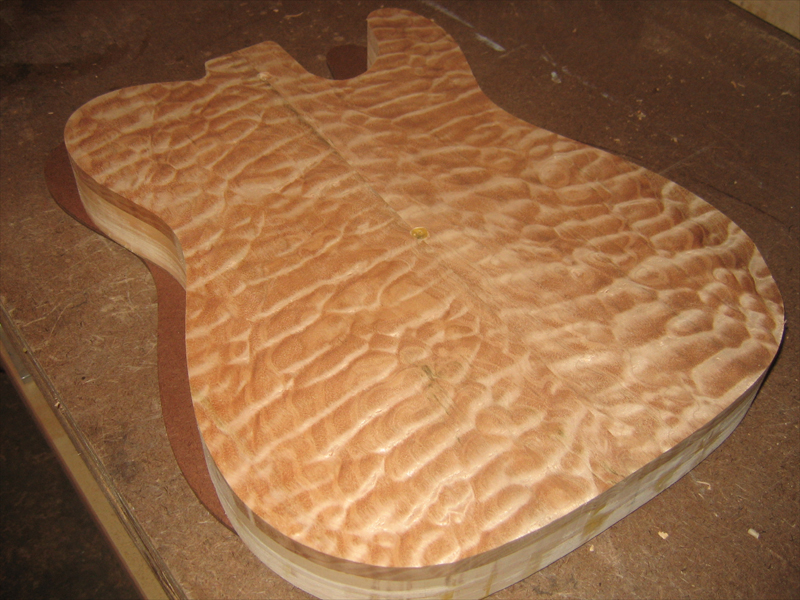
Change of Plans...Maybe
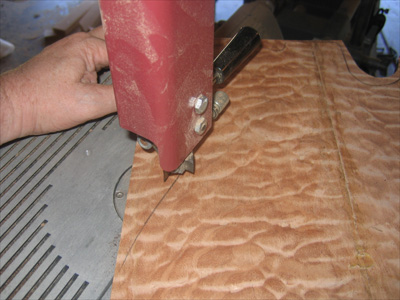
I am getting a fair amount of tear-out in the quilted maple. My guess is it's too dry. I may end up making this a flat top guitar...I don't think it will carve very well. Even the lightest of cuts thru the planer caused this.
But, I guess I could try. I'll take the outer rim of the top down to 1/4" thickness and start the carve. If it doesn't work out, I can always plane the top down to 1/4" thickness over all. It is possible to fill the tear out with a "drop fill" technique. After the top is sealed and several coats of clear are applied, a drop of lacquer is placed in the void and allowed to cure. Then it is sanded level with the rest of the top. Additional clear coats are sprayed to continue building up the finish. This makes the tear out virtually invisible.
| Previous | Home | Next |