| Previous | Home | Next |
| Finishing The Body |
|
The Lone Star Flag Graphics
Prepping for the Star & White Bar
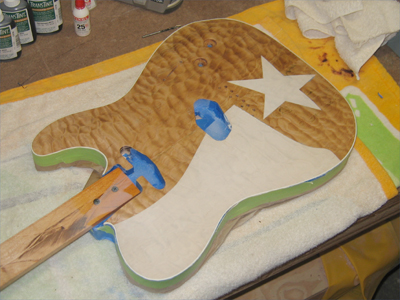
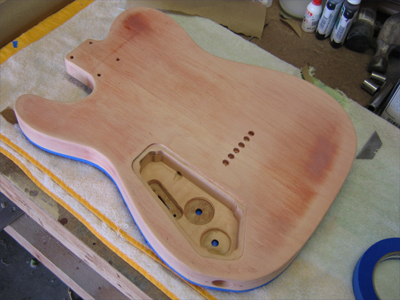
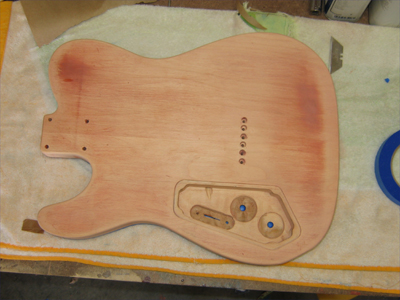
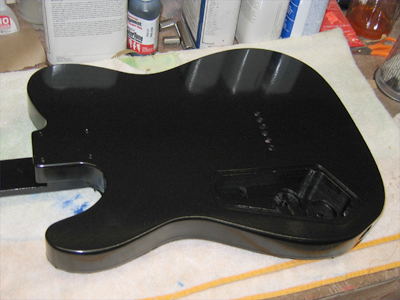
The body is sanded, clean and ready for finish.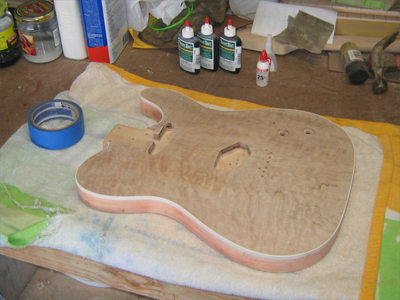
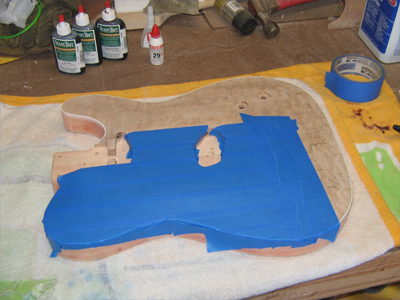
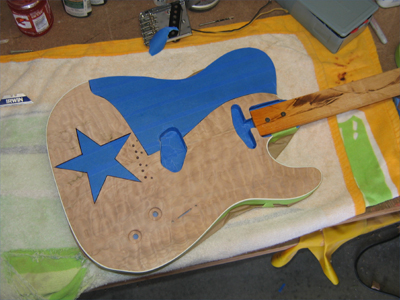
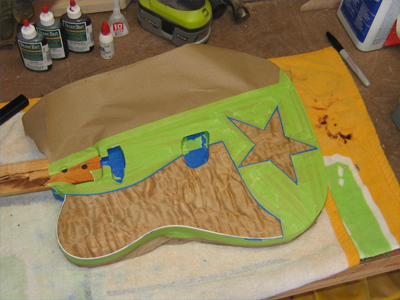
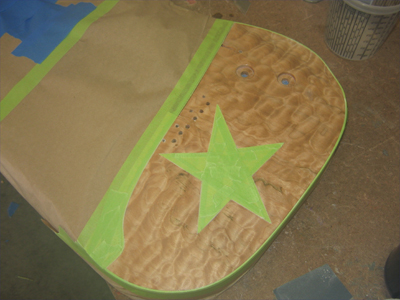
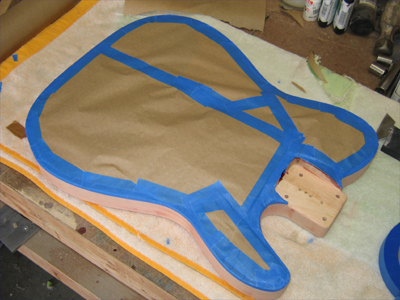
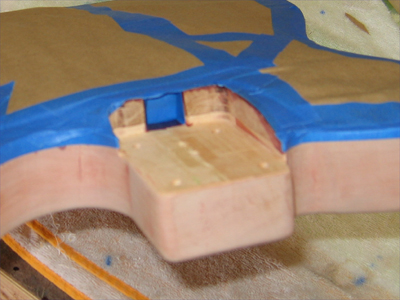
This is going to be a long process with many more steps than your average finish. The first of which is to bleach the part of the guitar that will be white. I started by cutting out the white portion from one of my full size printouts to use as a pattern. I masked the area that it would cover and then traced out the pattern on the tape. I then carefully, with a new blade and using only minimal pressure, cut out the area. I didn't want witness to the various steps involved in this finish, so I masked the neck pocket and pickup routes as well.
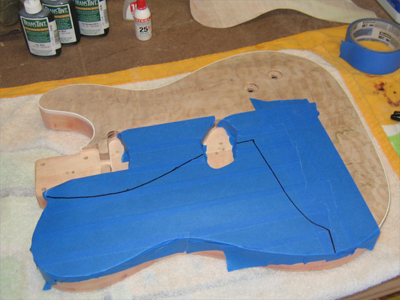
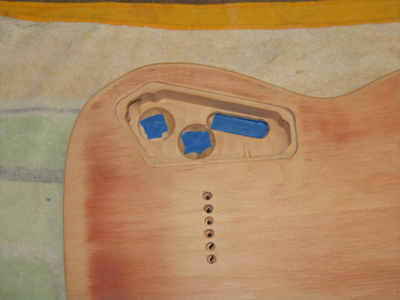
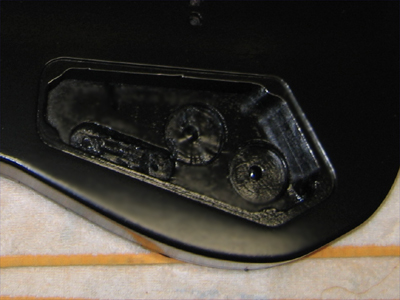
I also placed a bit of tape on the mounting holes for the controls so I could keep overspray out of the cavity.
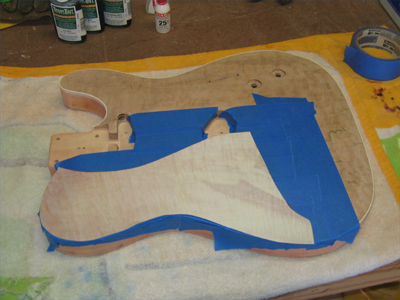
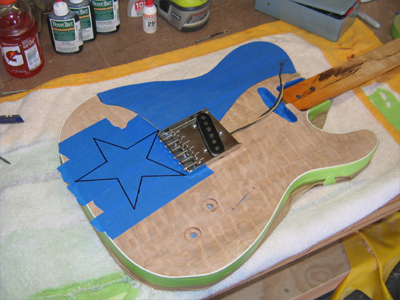
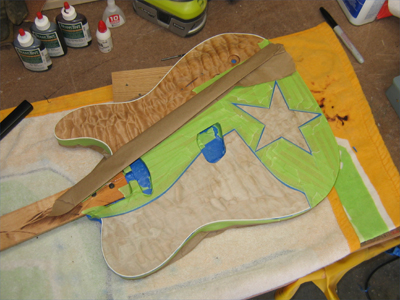
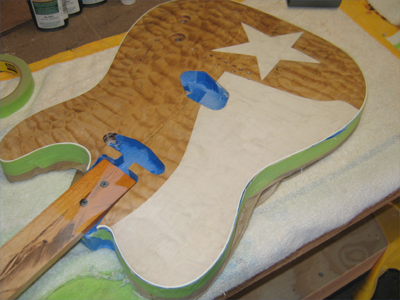
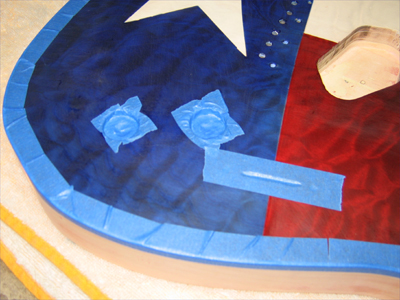
Next it was time for the star. During all of my mock ups and printouts, a bit of the star was always under the bridge. Now is the time to position it so it fully visable. By setting the bridge in place and sighting the mounting holes, I could make sure none of the star was under it.
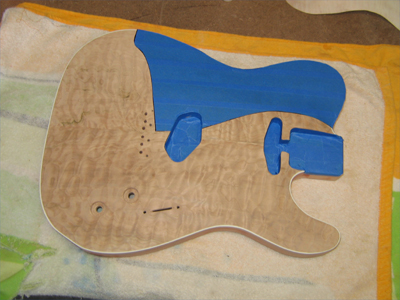
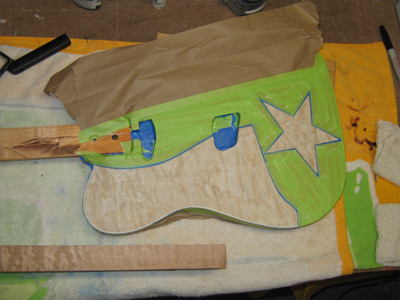
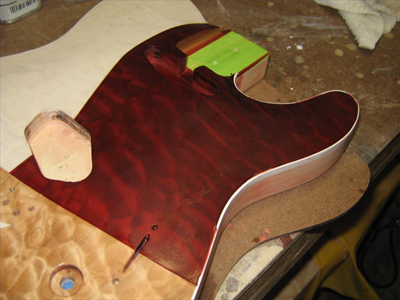
Here it is, all ready to spray. The first application will be a thin coat of clear lacquer. This will help control bleed during the dye steps later on in the finish and keep the bleach from bleeding onto the rest of the top.
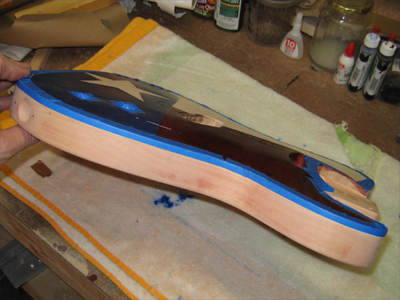
Here it is after the clear has been sprayed and a shot after the masking was removed.
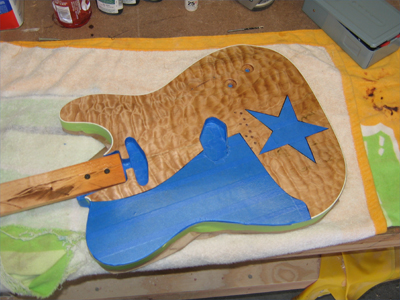
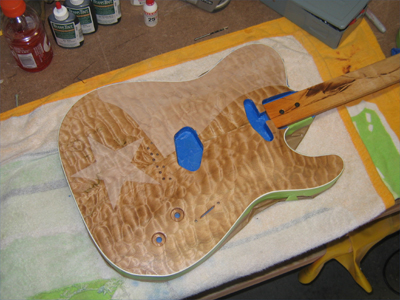
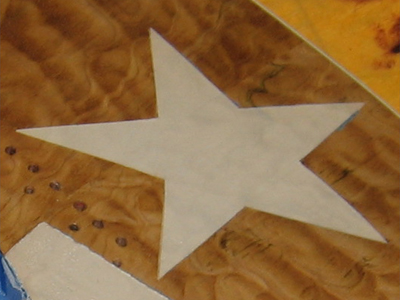
The first of the next four images shows the top with the masking reversed, ready for bleaching. The next is after several damp passes with household, chlorine bleach. The third is after drying from the bleaching and the fourth is after neutralizing with hydrogen peroxide and flushing with water. You can see the difference between the first and fourth images but I placed a piece of the original wood in the final shot for contrast.
The White Bar
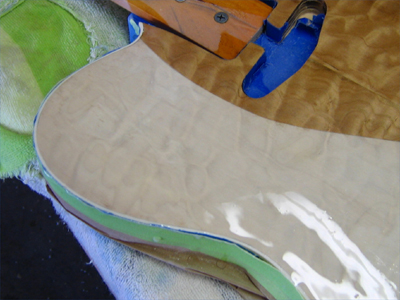
I used Mixol oxide white tint in clear lacquer to get the white that I wanted. I went a bit heavy knowing I would be sanding it back a bit to level it.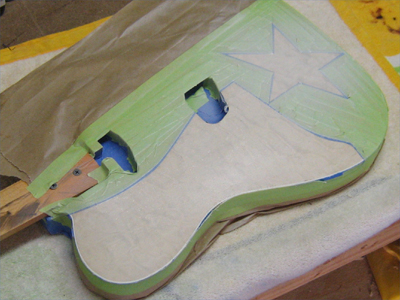
Here are some pics after the masking came off. There is still a good amount of figure showing thru and again, it will come back even more after I level sand it.
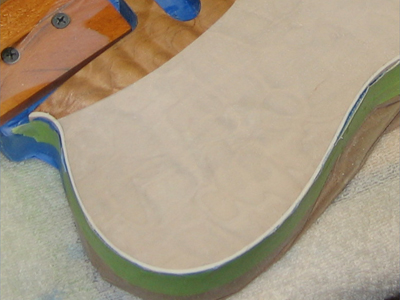
After curing for 24 hours, it's time to wet snad the white area.I could wait and level the entire top after all the colors are applied but the white took about 8 coats to get the color I wanted. It's not likely that the red and blue will need this many coats so I want to take the white back before moving on so I'll have less sanding to do at the edges of the colors..
Here is the white area at various stages of wet sanding. It's hard to see the subtle changes in the color but it's exactly what I wanted...maybe even a bit better. The wet shots give a glimpse of what it will look like with polished clear coats over it.


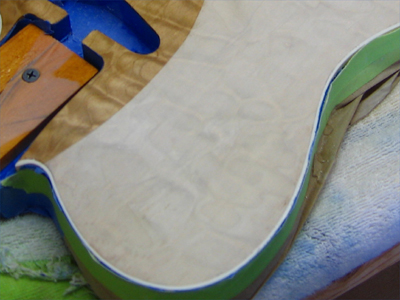
Here's a side by side of 2 similar shots... before sanding on the left and after on the right. It's a subtle color difference but the figure is fuller and better defined, even glowing a bit in places.
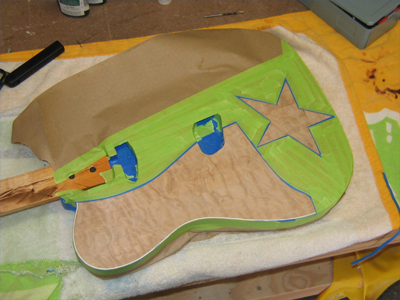
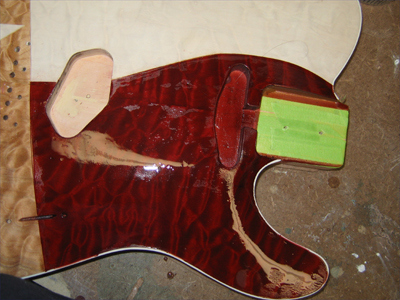
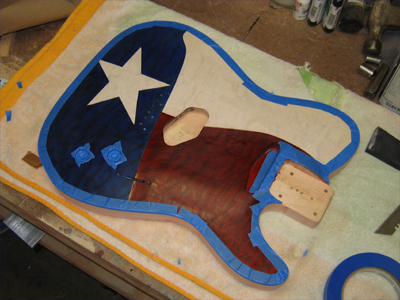
The Red Bar
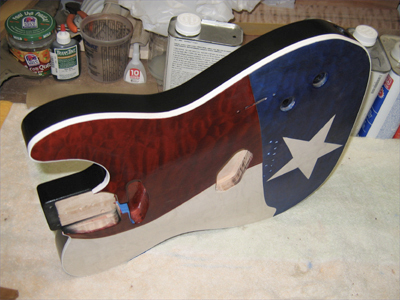
After masking off the portion to be sprayed red, I used TransTint Mahogany Red, with a touch of Bright Red, diluted in clear lacquer to get the red shade I wanted while allowing plenty of figure to show thru. I'm very happy with the results. I went a bit darker than the final color knowing I would level sand at this stage. This mixture was 4oz. of clear, 15 drops of Mahogany Red and 2 drops of Bright Red.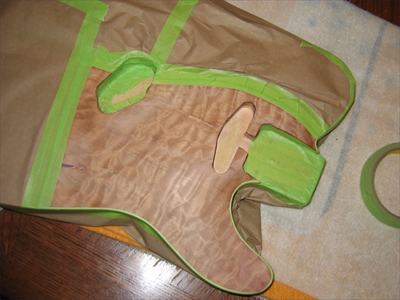
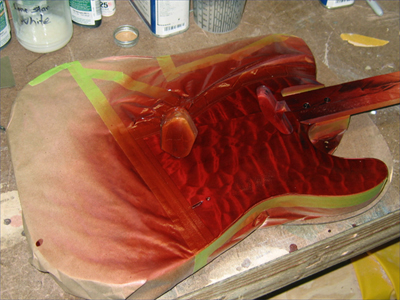
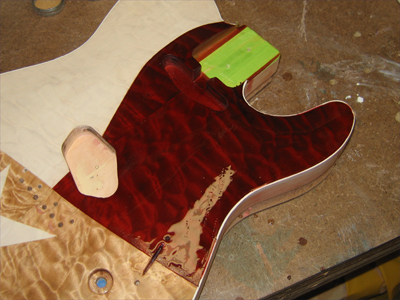
Here are few shots of the top during wet sanding.
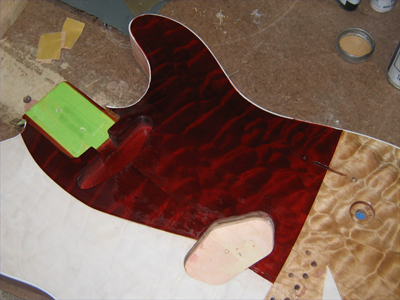
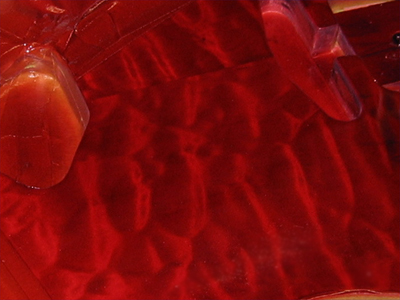
In the 2 shots below, you can see the color difference that sanding is accomplishing. It's tough to know where I want to stop removing color as this thing color shifts on me...look at the shot above with the white masked off and then the shots with it showing. The camera iris is affected by the bright white but in person, the red is very bright...more like the shot on the right below. It's never going to be PMS 193, as the spec for the state flag states, but I always planned a richer red anyway. So, I'm going to wait until the blue is done before I go to final color on the red...thinking it will tone down the overall shift the white causes.
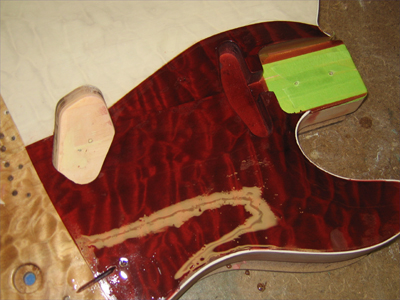
Once the water is removed from the surface and the light reflects off the satin surface instead of passing thru, the color darkens up again. Clear coats and polishing will solve that.
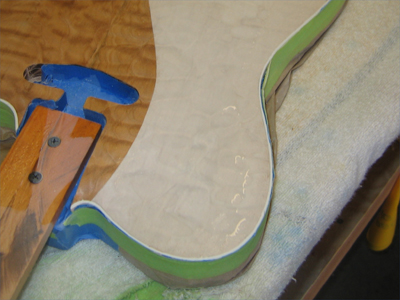
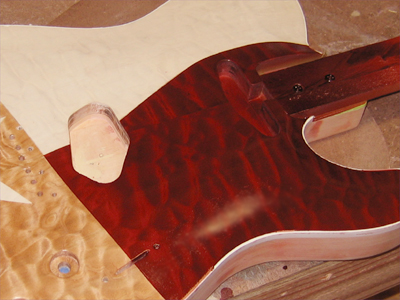
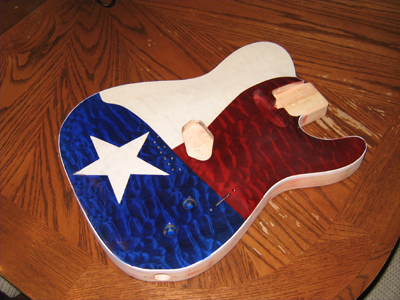
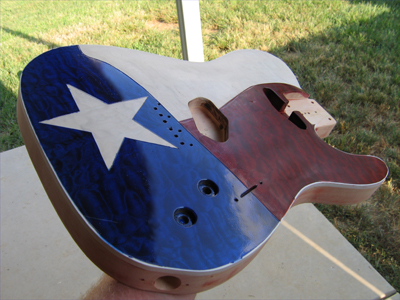
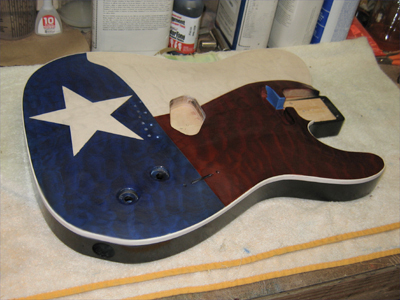
A side by side shows the color is very close to the 3D render. And, getting to the darker colors is exciting because we get to see the white binding pop for the first time. I have a couple of spots on the binding that I'll have to scrape clean where my masking didn't stick.

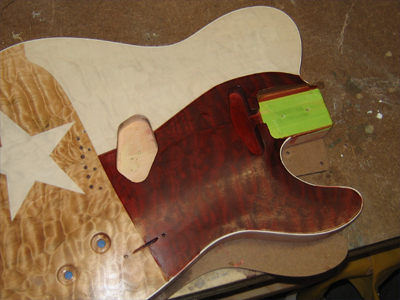
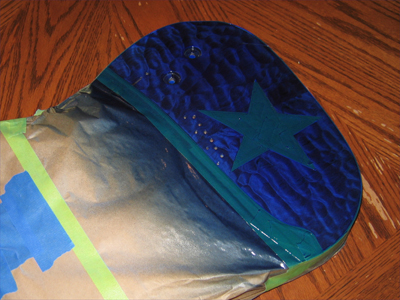
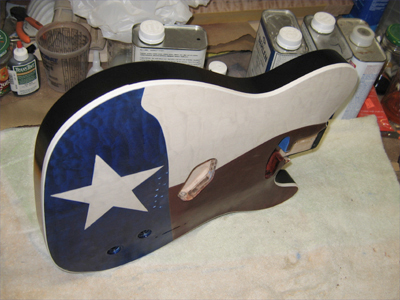
The Blue Star Field


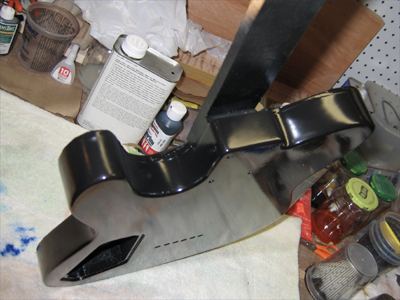
Blacking Out The Back
| Previous | Home | Next |