| Previous | Home | Next |
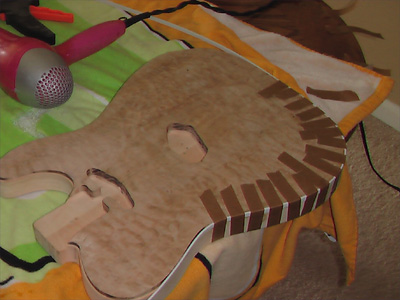
| Binding The Body |
|
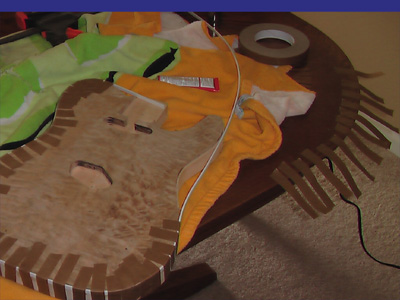
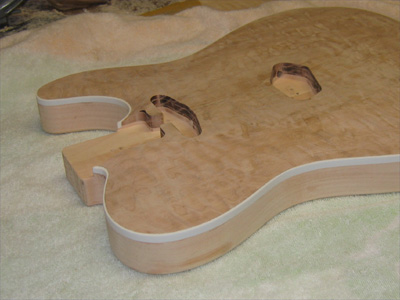
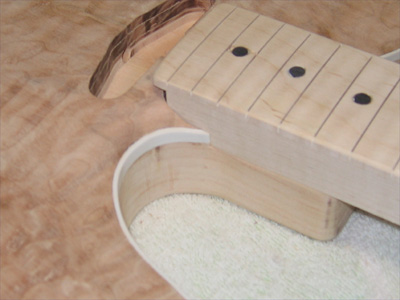
I started at the bottom of the guitar and worked out each direction. I kept plenty of tape strips ready to go and used my left hand ahead of the tape strips to hold the binding to the channel, then apply a piece of tape. As I got to the tight bends, I used a hair dryer to warm the binding and make it easier to form to the curves. Sorry these pics are a bit fuzzy and grainy. My wife had taken our digital camera to a b-day party and I had to use my video camera in still mode...it makes really nice video but sucks as a still camera.
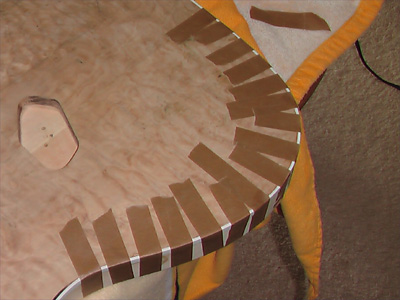
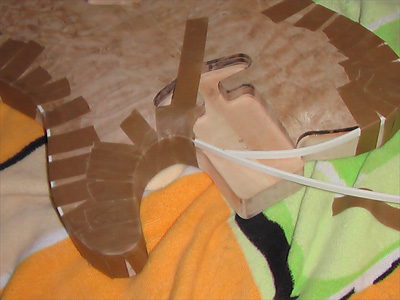
I saw this little trick on Ron Kirn's website. Very cool!
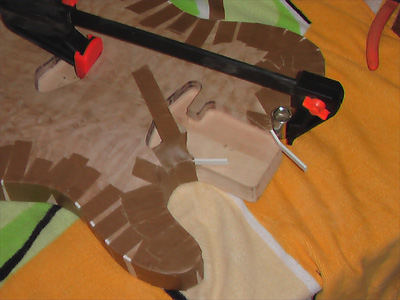
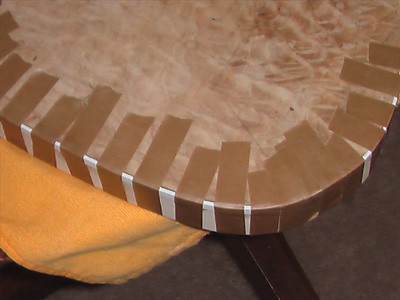
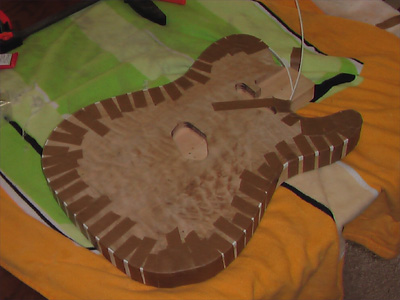
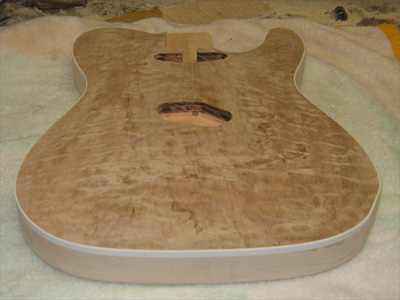
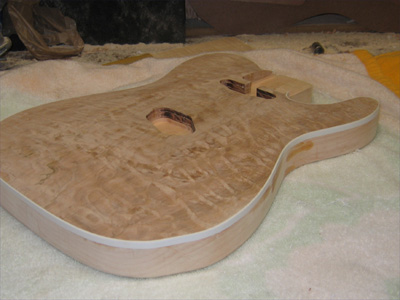
The results are nice. The tape from SM has great hold and came off easily even after being on for 24 hours...still have a piece on there I missed.
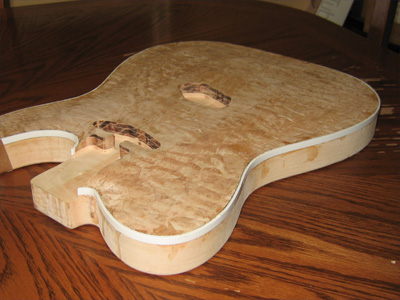
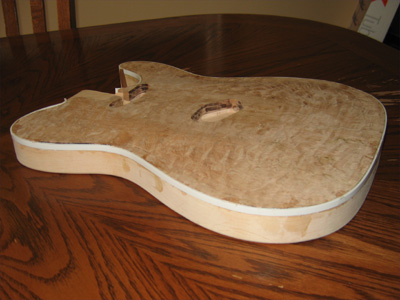
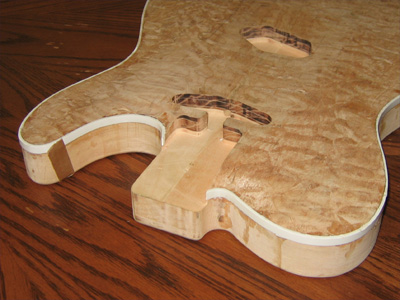
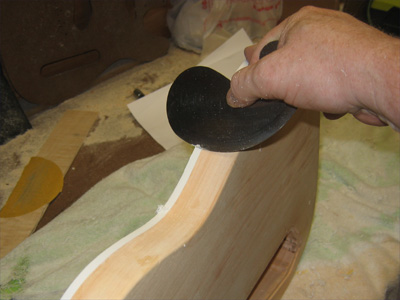
Scraping and Leveling the Binding
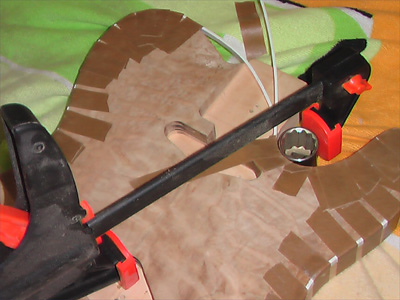
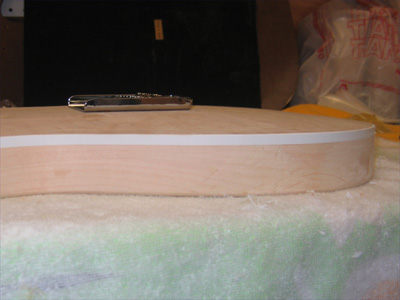
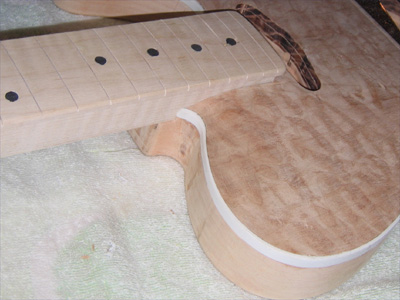
After the binding had set up for a few days, it was time to scrape it flush. Actually, I need to bring any high spots in the binding down to the top and bring any high spots in the top down to the binding...it was a bit of a balancing act deciding which was which but the nice straight channel I had cut for the binding gave me a very good visual reference. That special router bit and bearings that made me cringe at their price, were worth it! It still needs some blocking on the top at this point, but it's very close.Various progress shots...
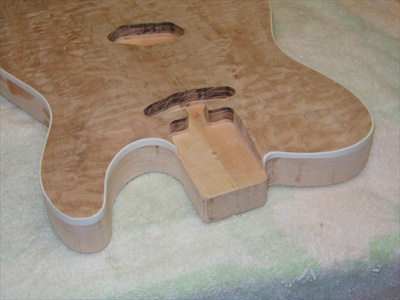
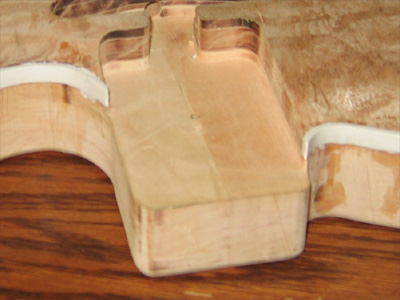
The areas at the neck pocket required patience and some very sharp tools...OK, not tools. Just a utility knife blade.
| Previous | Home | Next |