| Previous | Home | Next |
| The Tools |
|
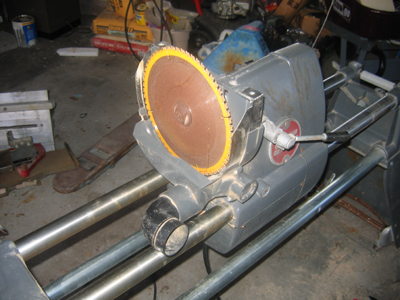
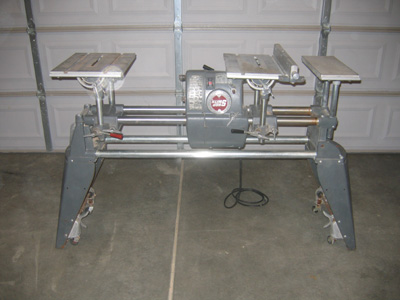
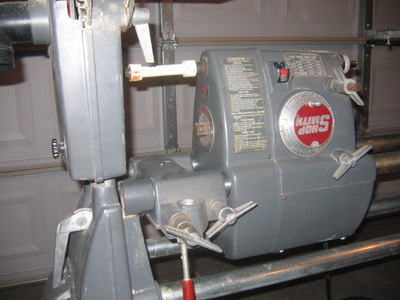
The Shopsmith Mark V
I have been looking for a space-saving solution that would allow me to have alot of functionality but not
take up the entire garage. After doing some research I found a multi tool made by ShopSmith. These machines have been
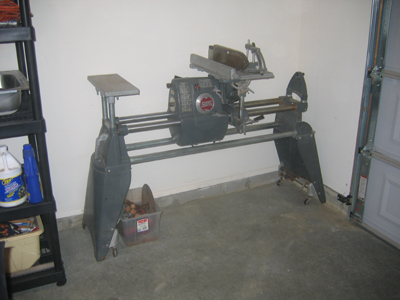
around since the 40's in various forms. The Mark V is the flagship model. I found a used one, only 25 miles north of me,
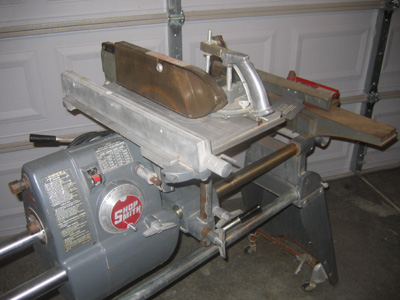
It looks a bit rough but it runs very smoothly. This one is the latest generation C stock version. It can configure as
a table saw, lathe, verticle drill press, 12" disc sander and horizontal boring machine. It has attachments for 11" bandsaw
and a 4" jointer. There are also 12" planer and dust collection options that I can add later. The great news is, it's footprint
is only 2' x 6'. It's on fold-away wheels that make it easy to move against the wall or out into the shop for working.
I hope to pick it up this weekend.
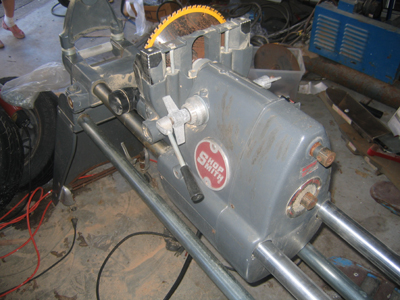
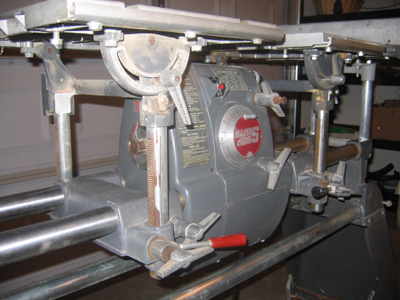
In the Seller's Garage
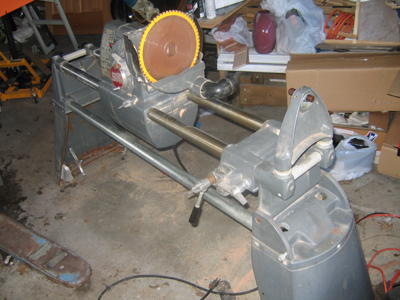
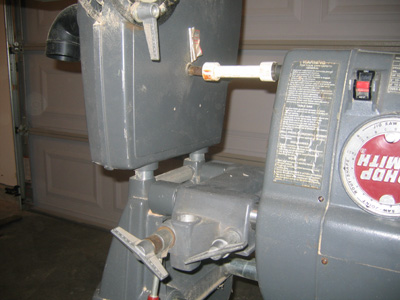
In My Garage
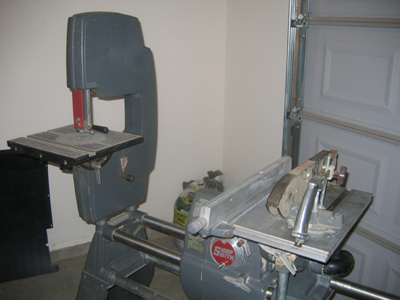
Well, I spent the cash and bought the Shopsmith. Got it for a mere fraction of what one would cost new.
I was a bit concerned even as I drove away from the seller's home but I really felt that with some
clean-up and assembly all would be fine. It looks much better now. Happier, too, I think :) It will live
it the corner, against the wall. The band saw and jointer attachments will reside under my bench.

The 4" Jointer
The jointer was in good shape but the tables and fence had rusted. Nothing huge here, just some elbow grease and about an hour of my life I'll never get back. I got good results but some further polishing would make it nicer still. I'm not crazy about the fence on this jointer...unless I'm missing something, you slack off the tension even a bit and it flops down on the table...it's heavy, hard to use, and it's dangerous! But, once it's in place, squared up and locked down, it's hefty mass does a nice job.Before
After
The Rubber Hits The Road
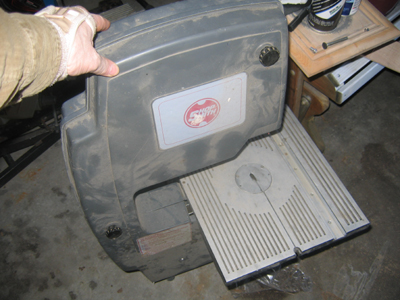
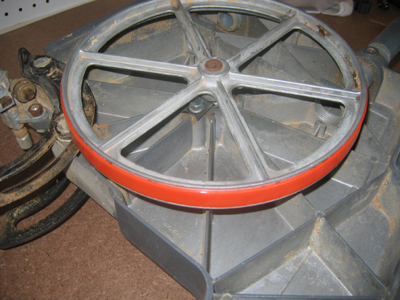
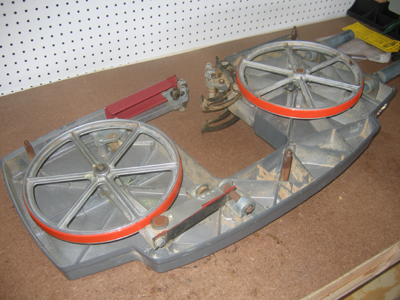
The tires on the Shopsmith band saw were in sad shape...likely the original ones. They were dried out, cracked and had to be replaced before the saw could have a blade installed, much less used to cut anything. After an hour or so of cutting and scraping with various tools, I was able to get most of the old rubber tires and glue off the wheels. A little time with some sandpaper took care of the rest. I replaced the old rubber with new urethane tires. A huge thanks to Bill at Sulphur Grove Tools for replacing the first set of tires that jumped the track and shreaded. It was likely an operator (me) error of using a speed setting above the recommended RPM. Thanks Bill!!! Lesson learned!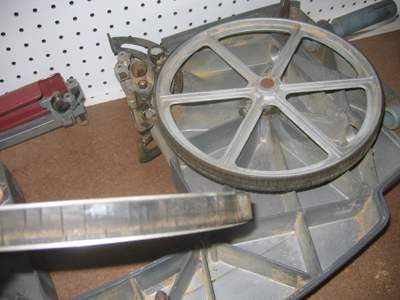
The Bandsaw Mod
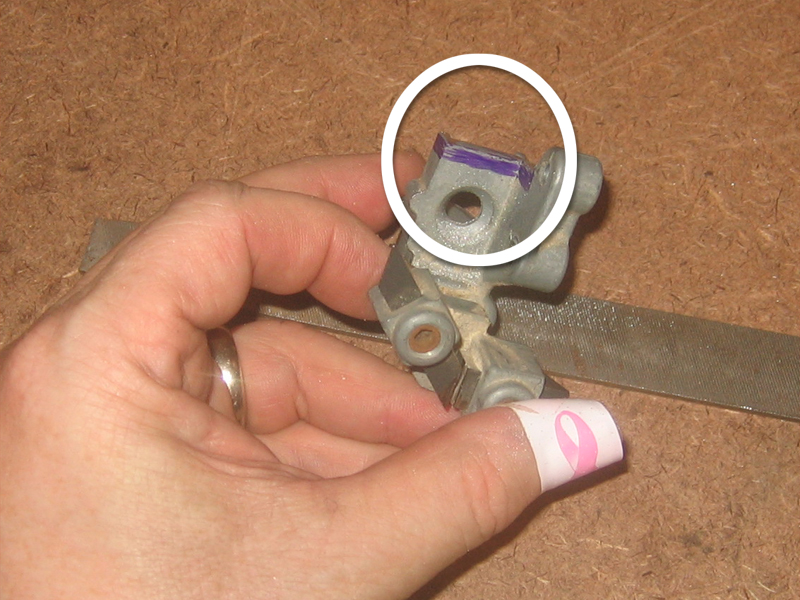
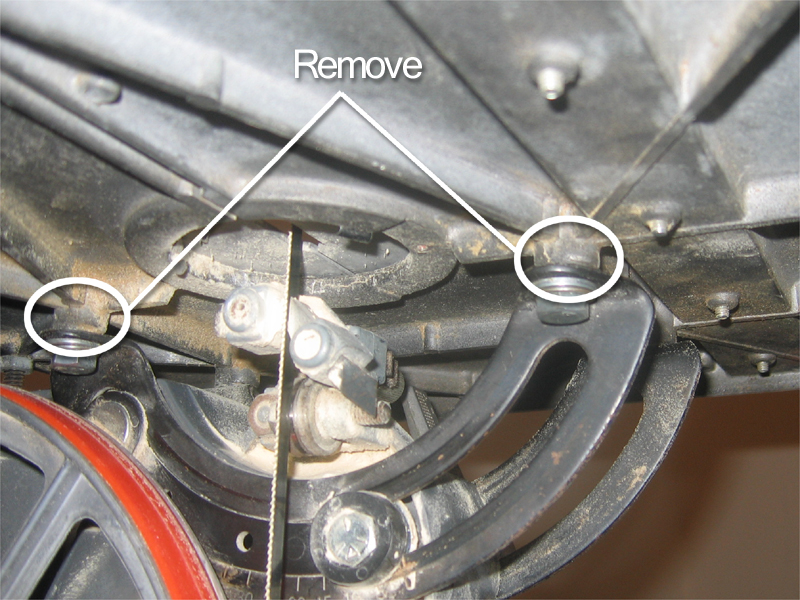
In order to resaw the width I need for guitar tops, I needed to increase the height of the throat on my bandsaw. Not an easy task. The Shopsmith bandsaw has a throat of 6" from the factory. To bookmatch a guitar top I need a resaw height of 6.50". The first step in increasing the throat was to file away useless casting material that limits the height of the blade guards. I took approx. 5/16" off the casting allowing the guard and guides to rise further into the saw housing.

The next step was to lower the table. The aluminum table has material that could be filed away to lower it approx. 1/4". But this wouldn't give me the height I need.
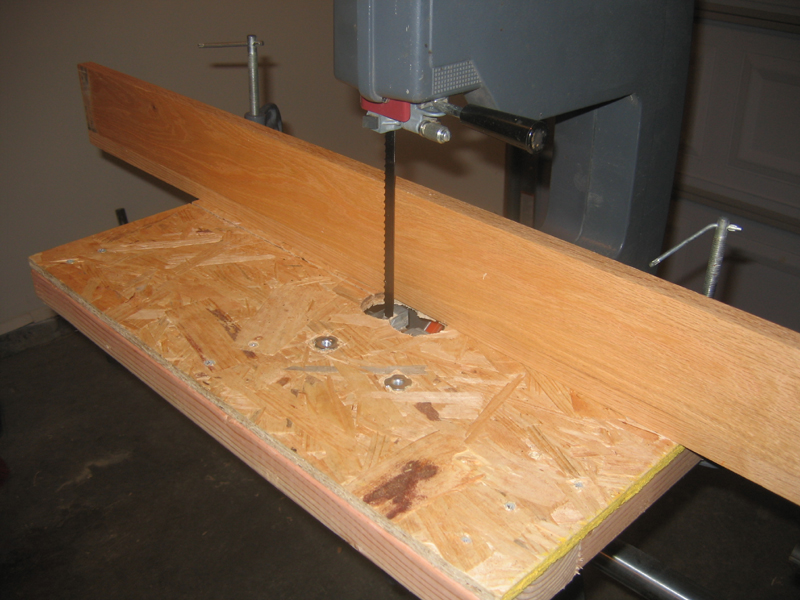
The Prototype
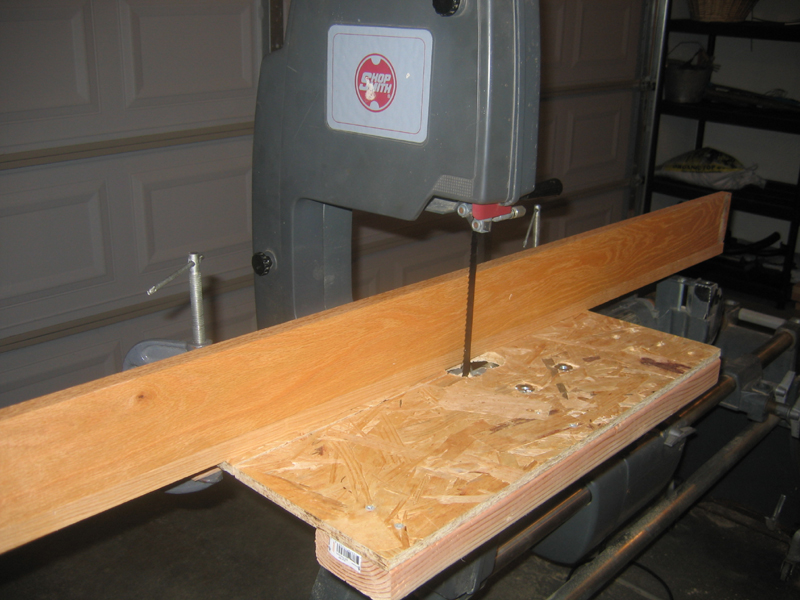
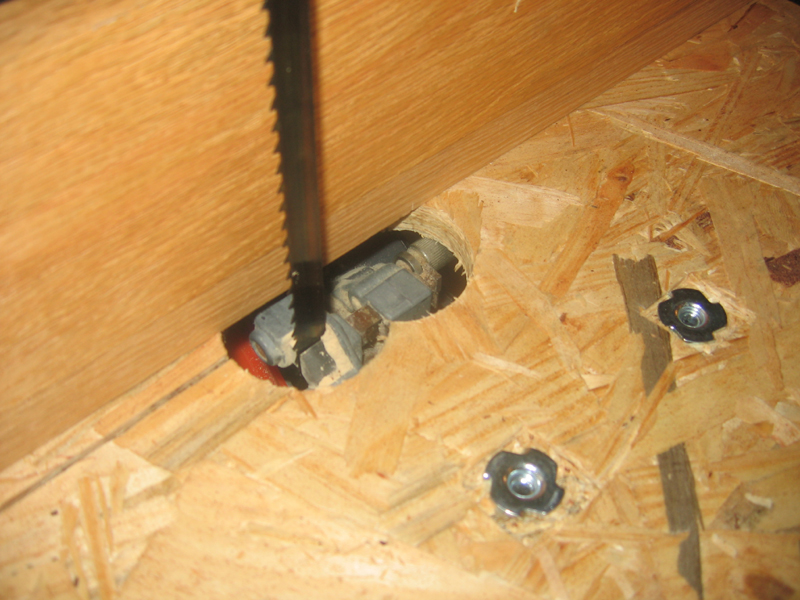
So...it's time to build a custom table. I made a new table out of 1/2" OSB using t-nuts and hex hardware to mount it. I backed up the edges with 2"x4". The new table sits flat on the trunions and opens up the throat to a comfortable 6.75". Also made a fence out of oak that keeps the stock on track. I did a test cut with a new 1/2" 4 TPI resaw blade and a 2"x4" on edge...it melted right thru...a nice, even cut from top to bottom. No problems. I'm going to test on a 6.5" piece of stock tomorrow...only piece I had handy that was that wide is the top wood I have selected for the Texas Tele...too expensive and too beautiful for jig testing.
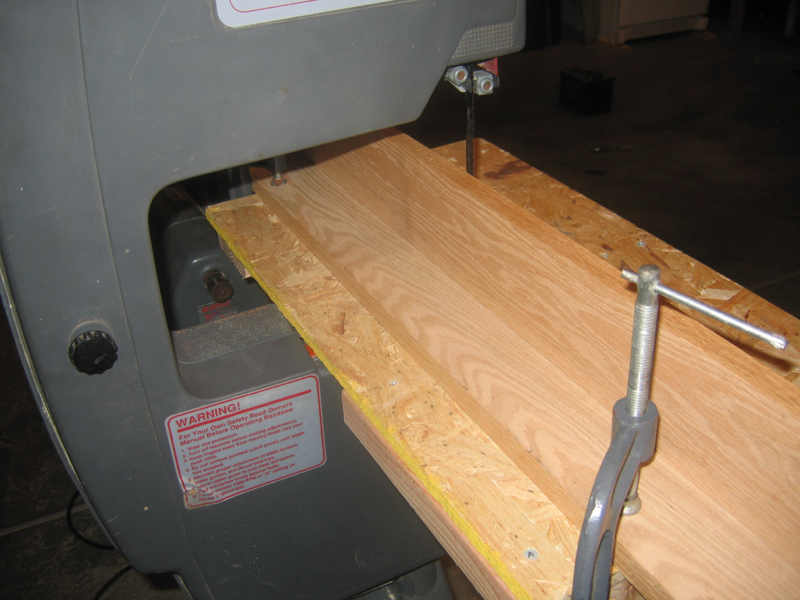
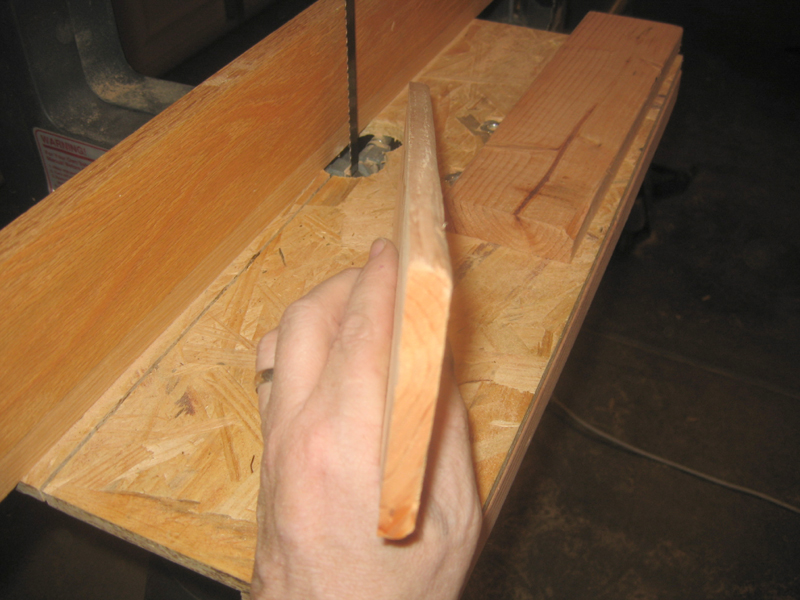
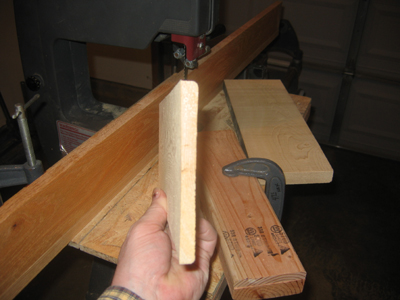
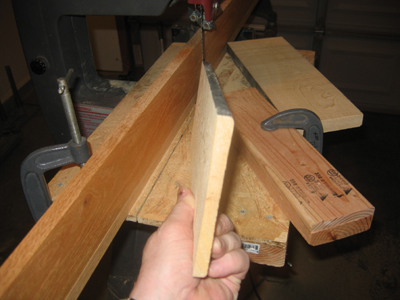
A test cut on a 5.5" piece of pine gave a straight cut. You can see on the right edge that the 2"x6" was cupped but the left edge from the cut in nice and straight.
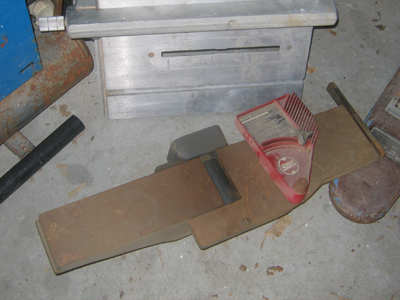
Resaw Table and Fence Get Their Metal
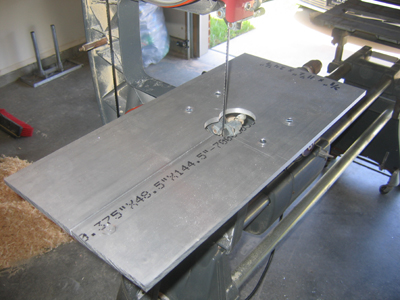
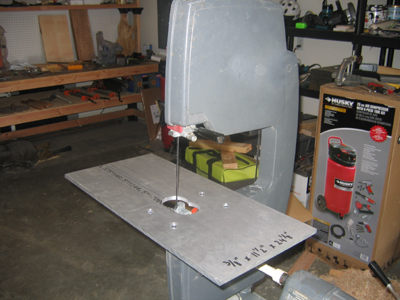
After prototyping and testing the resaw table concept, and gaining the throat height I needed, I moved ahead with the final product. I started with a 24"x12"x3/8" piece of 6061 T6 aluminum plate and a 24" section of 7"x3.5" aluminum channel. I used the original band saw table as a template. I wanted to make sure I got it right the first time, so the purists may cringe, but I clamped the two together and drilled through the bolt holes of the original table and through the new plate. It resulted in 4 very tiny holes in the old table but I can live with that versus buying a new piece of aluminum if I screwed it up.
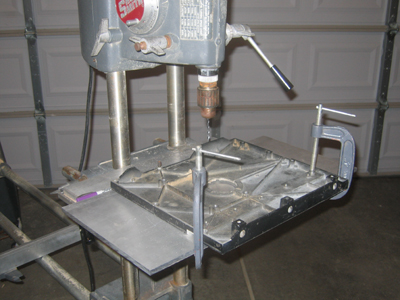
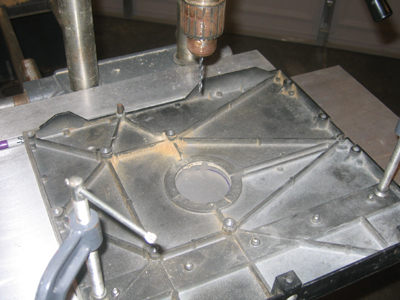
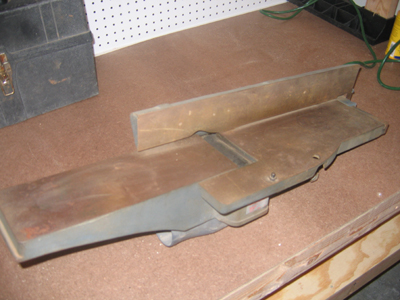
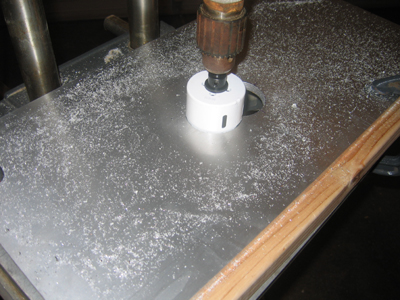
Next it was time for the center access holes. I had to hog out a pretty big opening because the table is nearly 1/2" lower and the guide adjustment would high-center the table...this also gives me enough room to get a finger and thunb on the guide adjustment from below and a fingertip on the top to make adjustments easier... er, possible.

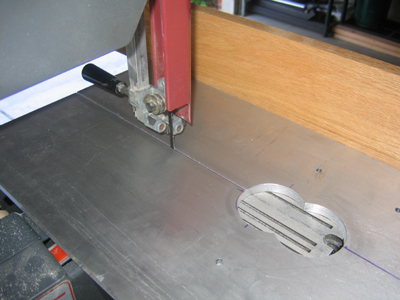
Next, I placed the original table back on the band saw and set up a fence to cut the blade access slot. And cut the top off of the 7" wide piece of aluminum channel for the fence.
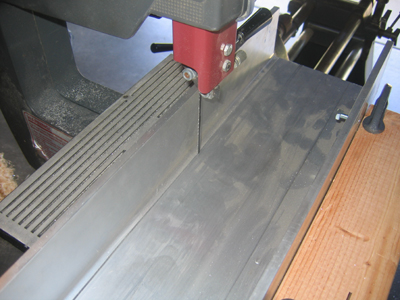
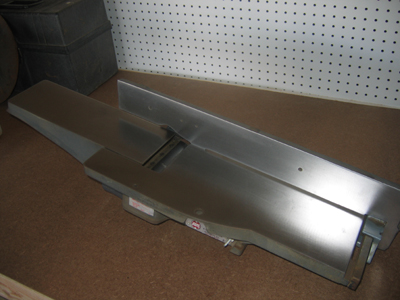
Here are a couple of shots of the table installed and squared up to the blade. I need to install a zero stop at some point.
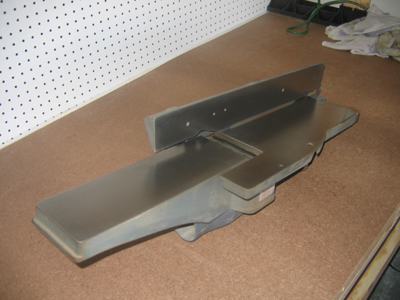
Here are a couple of shots with the fence installed. The side of the aluminum channel wasn't square to it's face so I drilled and tapped a couple of 5/16" bolt holes for adjustment bolts. A turn of the bolts tilts the top of the fence toward or away from the blade using the clamp site as a pivot point...works OK, but I want to have the side milled flat eventually. Notice the wood prototype sitting to the left in the last shot.
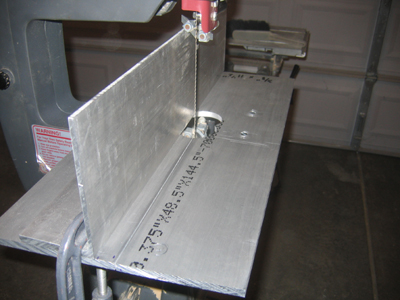
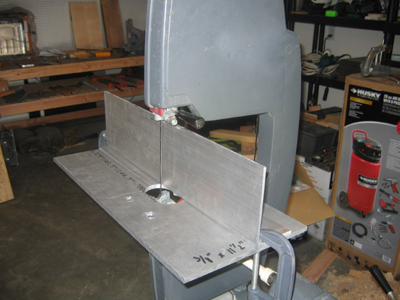
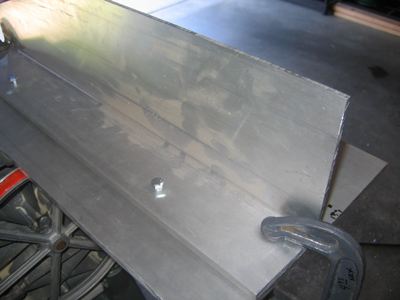
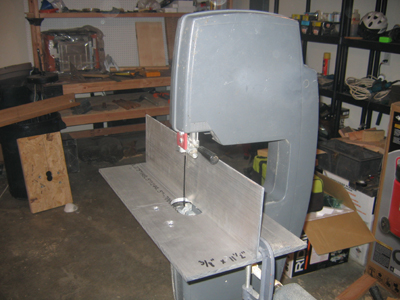
Table Saw Tables
I have always felt a bit unsure of the small table that ships stock with the Mark V 500. Used parts are very cheap on eBay so I got the idea to add another carriage and table on the other side of the headstock. $50 later and I have twice the table surface area plus I can put the second table anywhere I want along the way tubes during table saw use and I can get the fence further to the left of the blade with ease. It works nicely with the band saw as well. However, I will need to extend a power coupler for use with the jointer...or just 2 set screws and the whole thing slides off and out of the way. I noticed in the pics that I need to raise my band saw a bit...the power coupler is not level. And when it's far right, tight to the headstock, it clears the output shafts with no problems. For the meager investment, I'm much happier with my table saw now. Adjustment is easy, too. I set the height of the main table, lay a level across to the aux table, crank it level and lock it off.

| Previous | Home | Next |