| Previous | Home | Next |
| Routing Templates |
|
So, now I have a problem. But wait. I deal with technical graphics and animation quite often at work...why can't I make my own templates? Well, after studying many photos, researching dimensions and some slight of hand in Photoshop, I was able to come up with a design that was close to a tele but certainly not dead on...I prefer it this way. I made the body wider by 1/4" and extended the upper horn a bit forward so it "points" a bit more toward the headstock...for you SS users who are following this, while "headstock" is the brain and brawn of the Mark V, it's also the part of the guitar neck that holds the tuning keys.
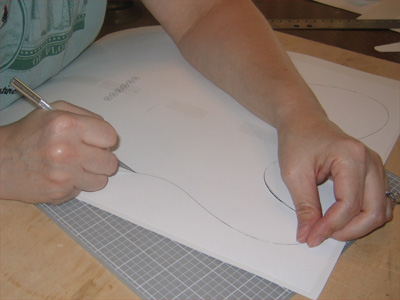
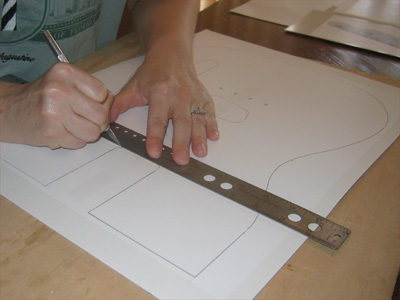
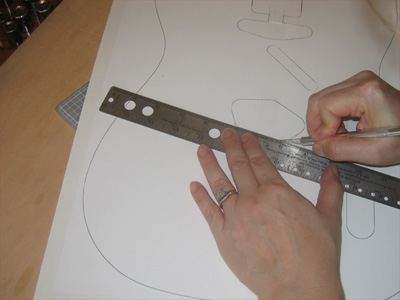
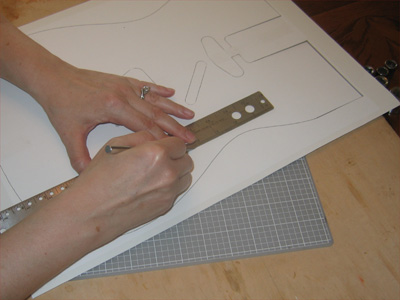
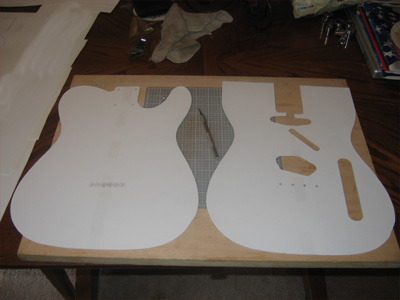
I was able to print at actual size by using some simple math...after the design was complete I knew my widest point on the body was 12.75". Screen res is 72 dpi, so I cropped to the widest point, adjusted resolution until Photoshop showed a print width of 12.75", I locked the aspect so that what I did to the width was also applied to the height. A quick check with a ruler after printing told me everything was right on...not the first time, but eventually. Here we see my lovely, talented wife, a print production artist by trade, using her talent, experience and steady hand to cut the printouts of the design and a shot of the final mockups. She's good!!! They look like they were die cut! She also helped me cut and glue up the printouts as they were tiled onto several sheets of paper.If you look closely, you can see the taped seams.

I did a couple of test cuts to see how the process would go and what the results would be. I am very happy with the results, but the cut line was tough to see so I sanded a bit too much and undersized the templates.
These remiond me of the Paul Chase print that my wife bought me for Christmas 2 years ago...if you don't know Paul's work, you should check out his site.
Graphic Guiars

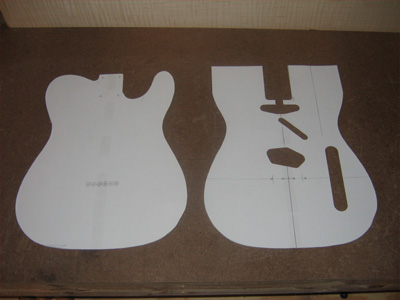
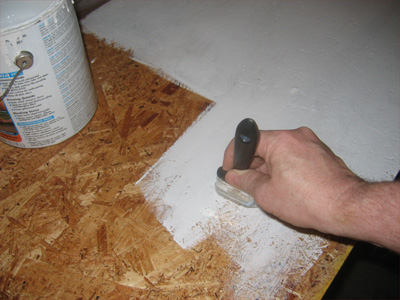
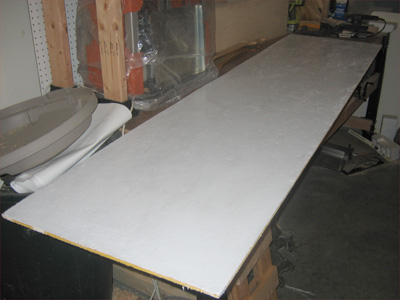
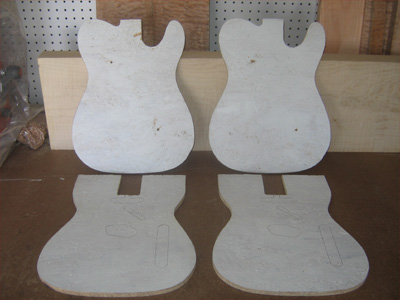
So, I decided to create a bit more contrast by putting a coat of white sealer on the OSB before marking the patterns. This should make the band saw blade easier to see as it's cutting give me a better guide as I'm sanding. I went ahead and prepped a 2'x 8' sheet for future use. One added advantage of painting one side white is that it will always be instantly clear which side is the "business" side of the template. I don't want to drill or route the wrong side of the body. An expensive mistake!
I learned a few things on the practice run: First, I should take the power tools out of the process when I get right down to the line. Finishing by hand with a sanding block gives me more control and a smoother finish. I also learned that the 2 templates should be joined together during final sanding...ensuring that, where they line up, they are the same finished size and profile. I'm updating this as the sealer is drying, so I will be cutting final templates this afternoon.
Tracing, Cutting and Sanding
A can of paint or another heavy objest holds the pattern in place as I trace around them.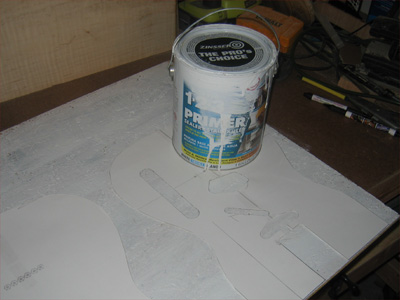
A little handy work at the band saw and I have the four rough cut pieces...two sets...I thought I might as well make 2 in case something goes wrong.
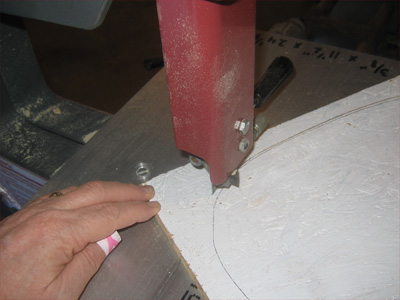
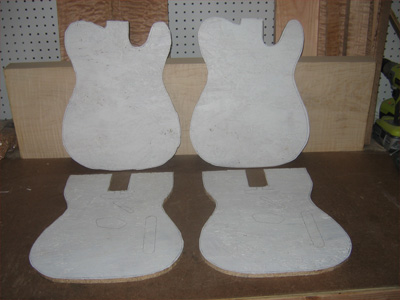
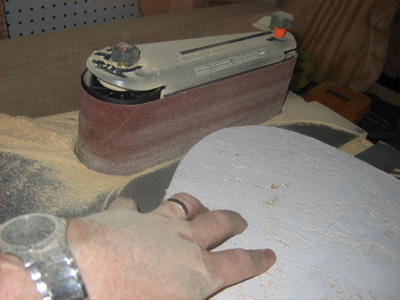
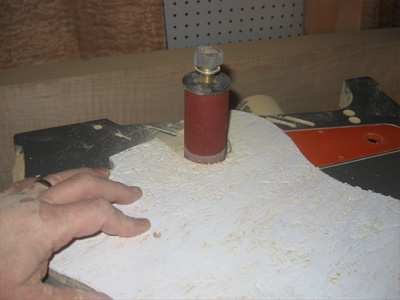
One of the tools I saw being a huge help in the shop was an oscillating belt/drum sander. It is well worth the money...under $200. I sanded all 4 pieces to the cut lines in under 30 mins...including tool changes. The pieces needed very little touch up after.
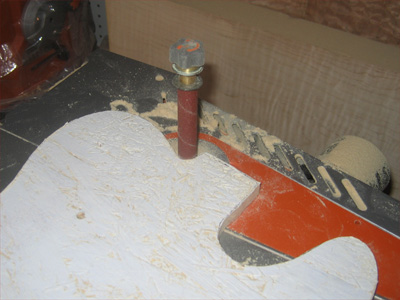
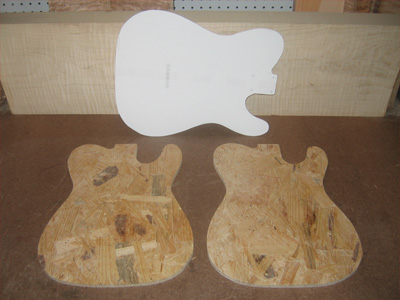
Here are the 4 pieces profiled and finish sanded by hand. I left the neck pocket openings a bit under-sized. Since I will be making my own neck, I prefer to tweak the neck pocket as needed for a nice tight fit. I'll tackle the openings for the pickup and control routes this evening. Maybe even start profiling the body, too!!!
| Previous | Home | Next |