| Previous | Home | Next |
| Routing The Body |
|
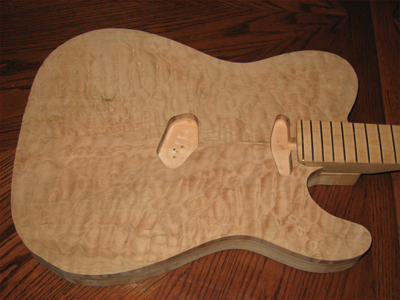
The Neck Pocket
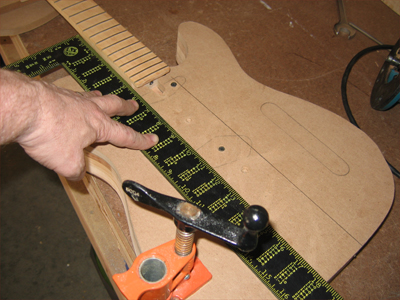
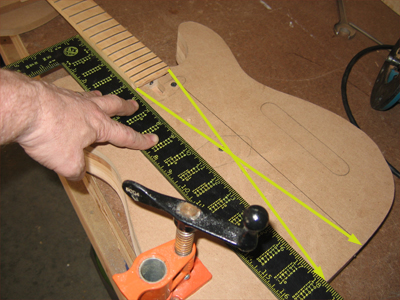
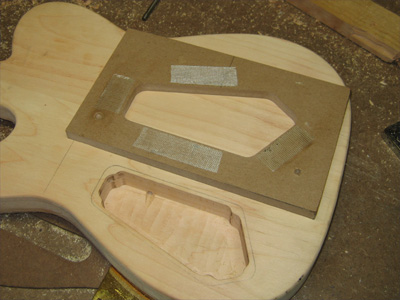
Today I finally got around to starting the routing of the body. There have been some lingering questions about how to carve the top that have had me at a stand still for a week or so. I think I have a handle on that part of it now so it's time to move forward.I started by routing the neck pocket. I used 2 different templates to accomplish this. The first is profiled the same as the body but has the neck pocket route as well. This helps me assure that I have lined things up properly. I placed a neck from a previous project into the neck pocket route and used a straight edge to line it up and draw lines off of each edge of the neck down the length of the template. I then measured from each corner of the neck to the opposite line at the edge of the body... equal measurements here tell me the neck is square to the body. I made the first pass with the router using this template.
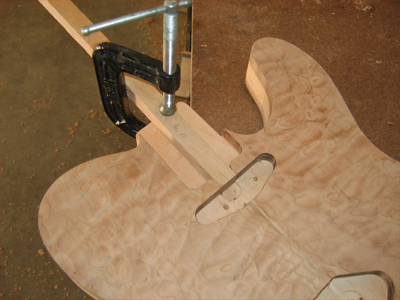
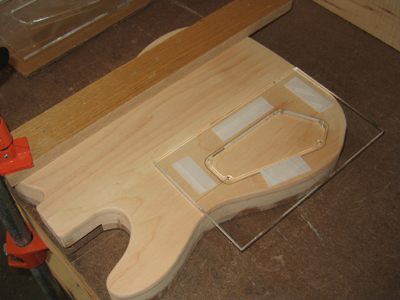
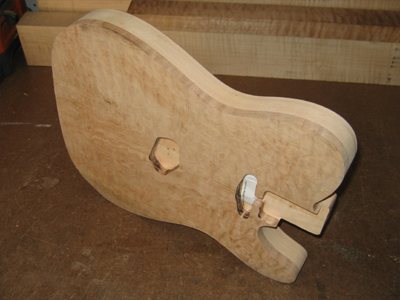
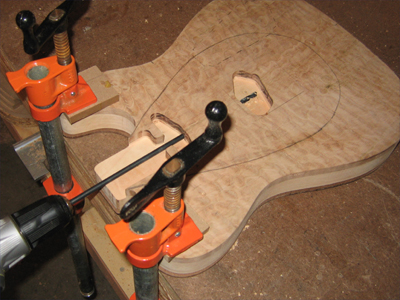
I then switched to the second template to complete the routing. One screw into the top where the neck pickup route will be and a bar clamp hold the template in place.

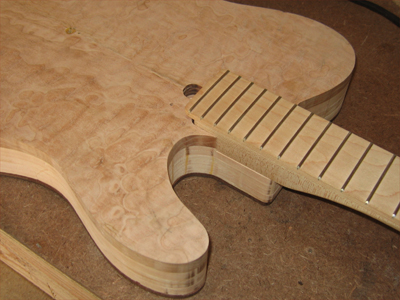
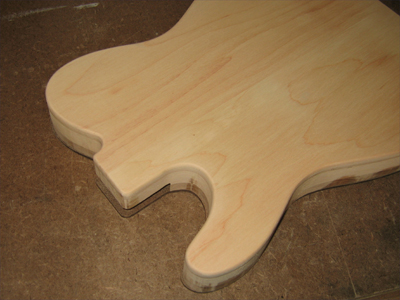
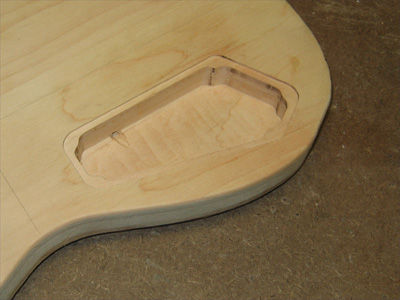
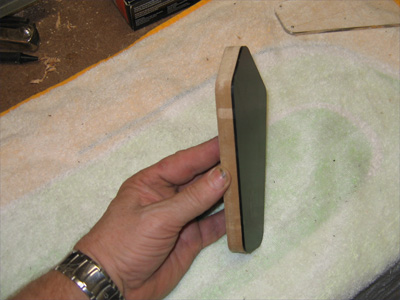
The finished pocket...though I may need to adjust it's depth after the top is carved.
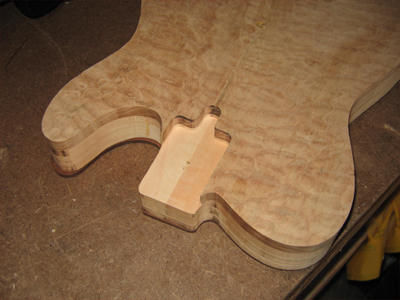
This neck is a bit undersized for this route and it's end is profiled for a Strat style guitar but it serves as a good substitute.
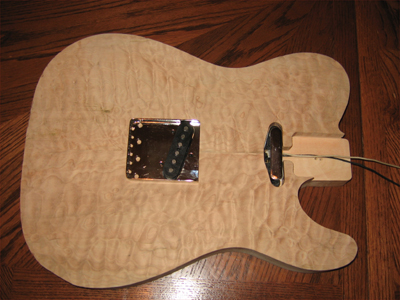
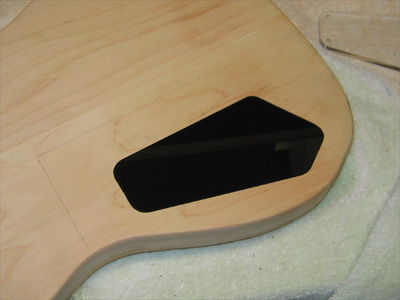
The Pickup Cavities
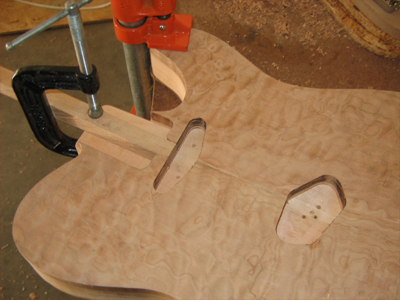
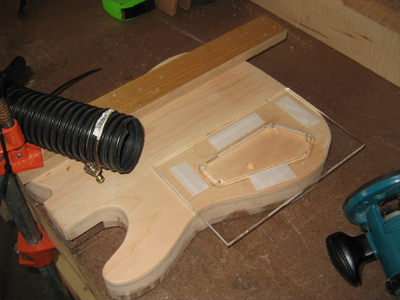
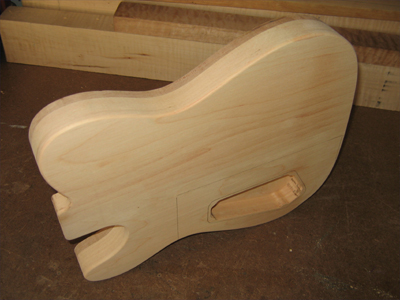
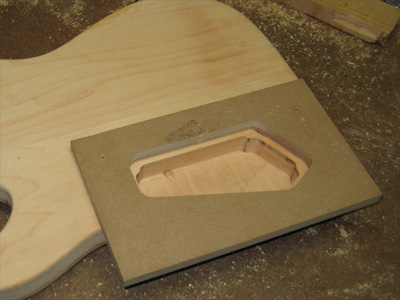
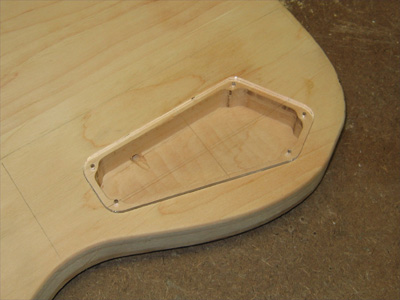
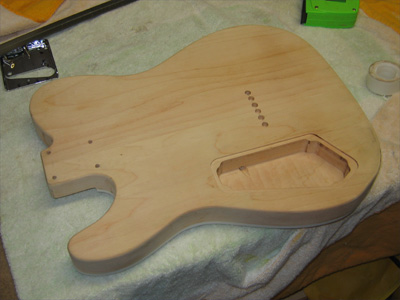
I didn't stop to take many pics because I was on a roll. But you can see that it was done much the same as the neck pocket...using shallow cuts and several passes to get them to the right depth...3/4". Again, I may have to adjust their depth after the carve...the neck pickup for sure.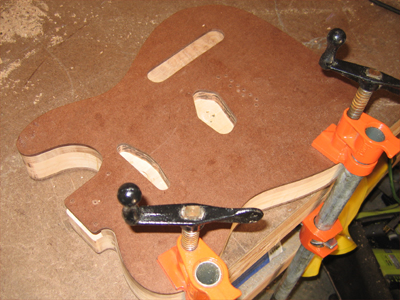
After I reached the max depth of the thin template, I used the body itself as a template, but the opening from the pocket route had to be blocked so the pickup cavity could go to 3/4" without affecting the pocket's 5/8" depth. A simple block did the trick. The left image is before final depth and the right is at final depth. I didn't use the control cavity route because I have decided to backload the electronics to give me more room for the top carve. See the new render here...it shows the backloaded electronics.
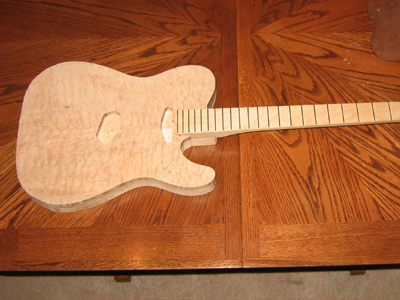
New Carve Profile
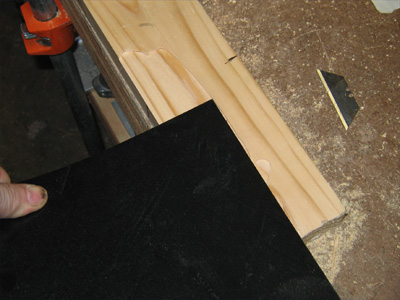
The Control Cavity
I started by block sanding the back to remove a couple of nicks that happened during routing...no probels there but I do have a stubborn low spot that I'm going to have to deal with at some point. I also put the slightest of roundover on the back.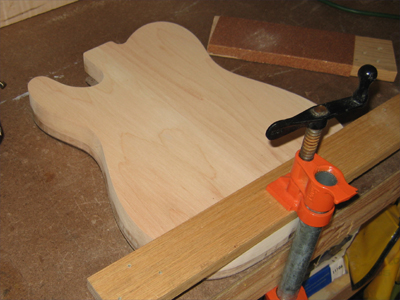
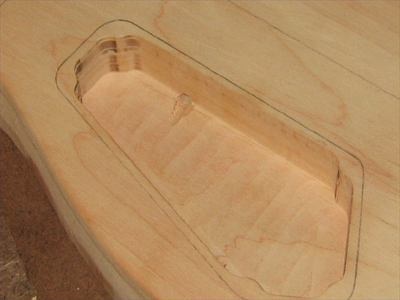
Next it was time for the control cavity. I bought some cool templates that work for the deep cut, seen here, the shallow cover cut anf the profile of the cover itself. I don't have the material for the cover yet so I'll do those later.
A couple of after shots...
I used a long 1/4" drill bit to drill from the bridge pickup cavity to the control cavity...
And from the neck pickup cavity to the bridge cavity.
A Couple Of Fun Shots
I got in some of the goodies...a Texas Special bridge pickup and a Custom '62 Reissue for the neck.
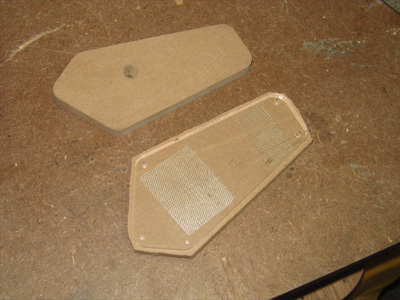
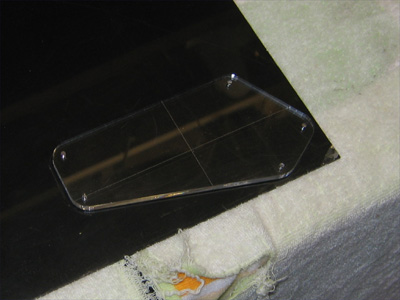
The Control Cavity and Cover
I finished up the control cavity and then moved on to the cover. Nothing special here. Just used templates to route the recess for the cover and then made working templates for the cover shape. Rough cut a piece of plastic, taped it to a template then shaped it on the router table. Varius stages are seen below.
Drilling the String Holes
After marking and drilling the string hole locations on the front with a 1/8" brad point bit on the drill press, I made a template for the ferrule holes in back. The reason for this is that the ferrules are very visual and they need to be in a straight line and evenly spaced or it is very obvious. If you're going for a vintage look, it doesn't really matter. I hear some of the early Esquires and Teles were a bit rough.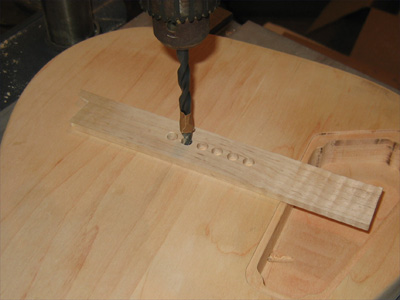
| Previous | Home | Next |