| Previous | Home | Next |
| The Neck |
|
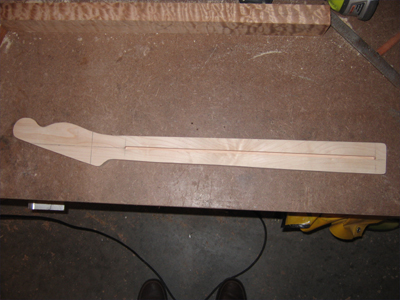
Router Jig For The Truss Rod
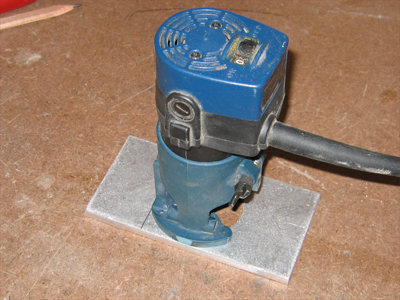
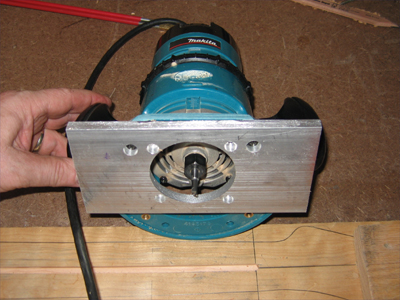
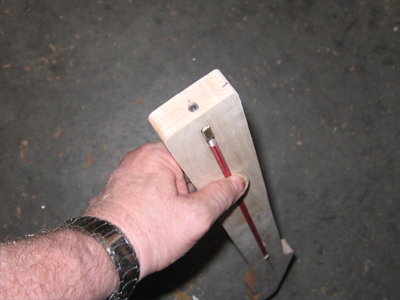
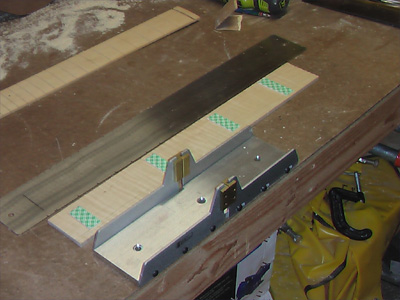
In getting started on the neck I decided to make a jig for routing the truss rod. I wanted to be able to take advantage of the sides of the blank before profiling. So I thought about a simple jig where the router would ride down the neck blank using a side of the jig as a guide. Part of this would be a custom plate for my Ryobi laminate trimmer. It's base is exactly 3 1/2" wide and as luck would have it, the piece of aluminum channel I sawed away, during the mods on my band saw, is exactly 3 1/2" wide. I must be living right.I cut a 7" piece from the scrap and then removed the bit of lip that remained from the band saw cuts.
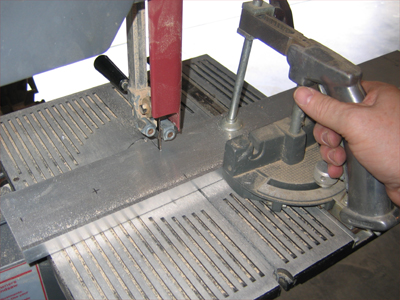
Some filing was needed to flush up the one side after cutting.

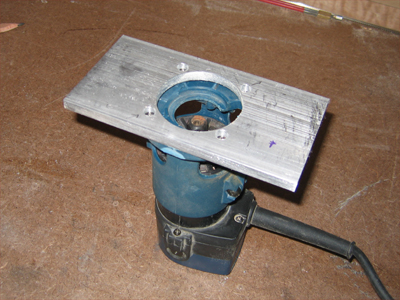
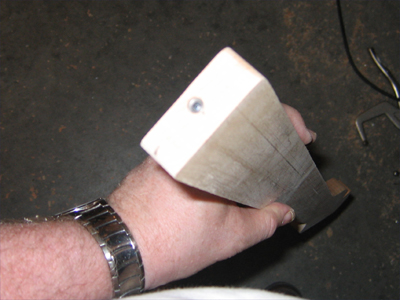
After an hour of turning a piece of aluminum channel into a piece of aluminum plate, I started machining the plate to clear the router bit and mount up to the router.
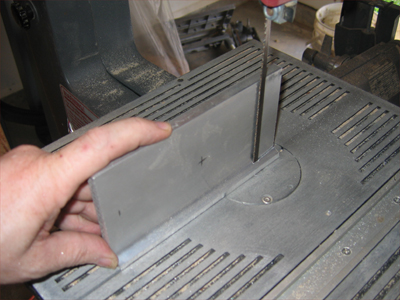
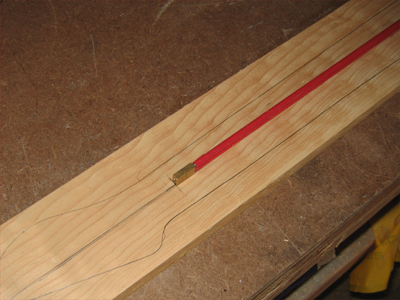
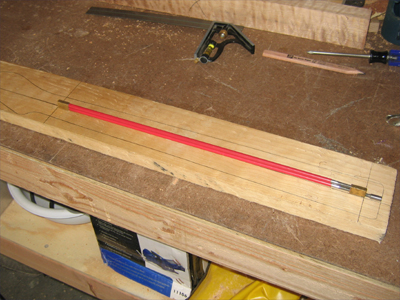
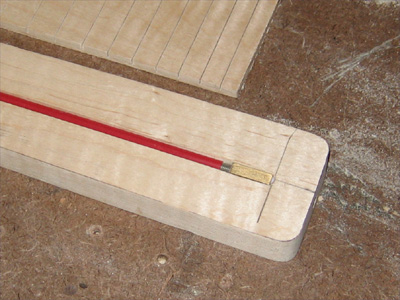
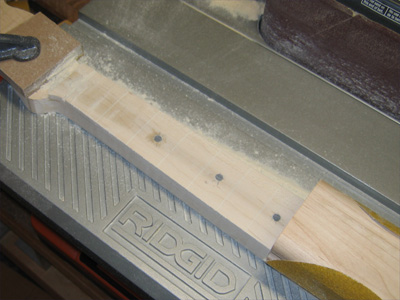
So, with the router base finished, it's a matter of laying out the neck blank. The easy part of this is all I have to do is set a line at 1 3/4" off the edge. The neck template has a center line that matches up with this line.
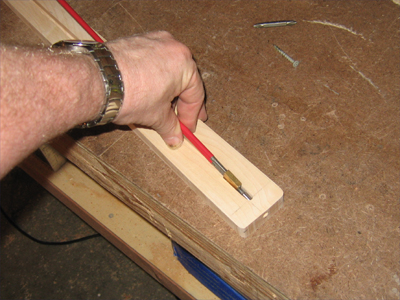
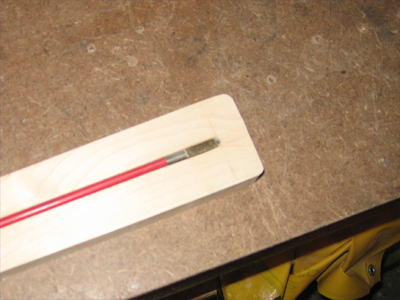
Then, I mark the length of the truss rod. I'll add stop blocks at the ends of the jig so I plunge in in the center of the run and then work to each eand stopping at the blocks.

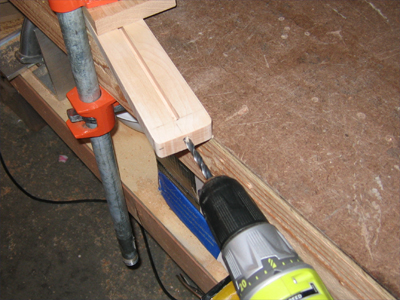
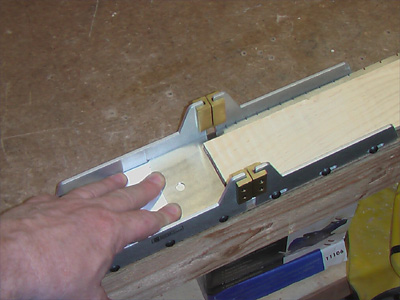
OK, here's an important lesson: Check to make sure your power tools work before you spend time making custom attachments for them! After making the router plate above, I went to change out the bit and the router is siezed up...not sure why I had it on the shelf. I must have uded it pretty hard last time around and when it cooled down, it locked up.
But, as luck would have it, the plate was easily adapted to a 1 HP Makita. It actually feels like a better solution thatn the lighter laminate trimmer.
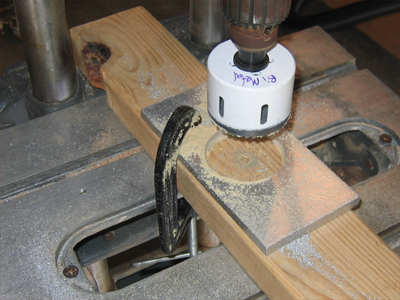
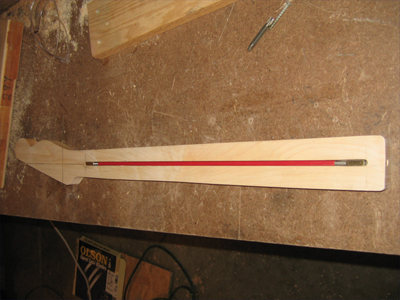
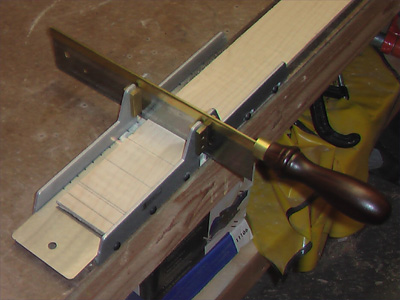
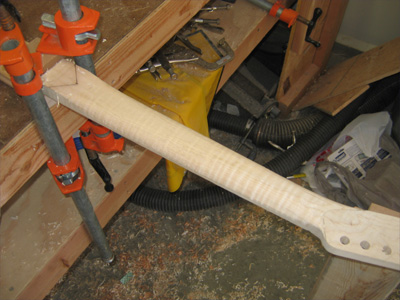
So, here's the full rig. The new plate rides along the "fence" and stops on either end set the length of the cut.

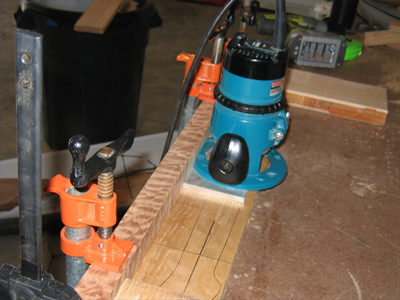
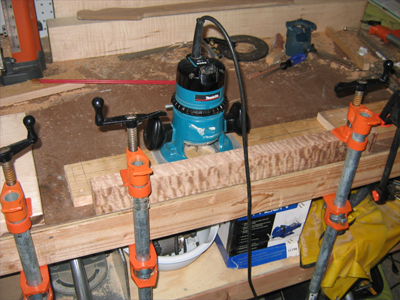
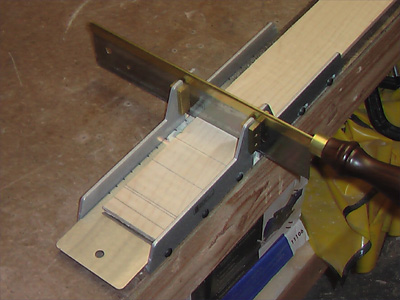
Here are some pics of a test cut.
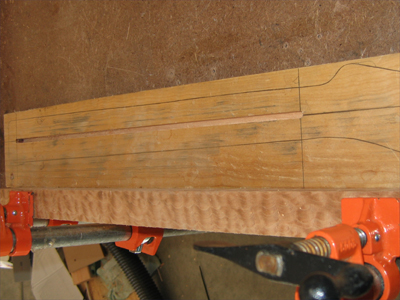
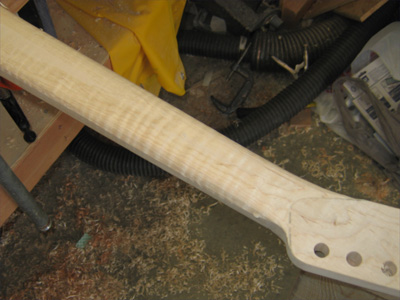
Well, it's hot as can be in the garage/shop today. A heat index of 103. I'm moving quickly so I didn't take a lot of pics but I did take some of the results. The routing of the truss rod slot was done just as described above and the profiling was done just as with the body...though I did change it up and use a flush trim router bit with the template on top of the blank. After messing up a couple of blanks on the end grain at the butt of the neck, I figured a change was called for...it worked great!
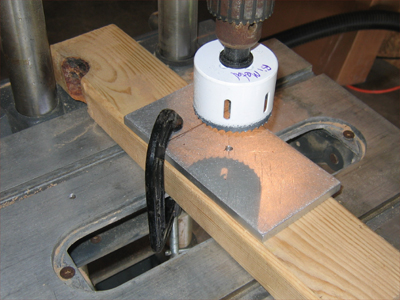
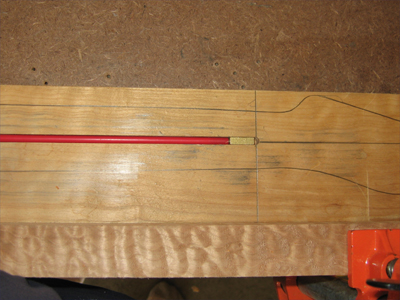
Here, I'm making the recess for the adjustment portion of the truss rod. Stew Mac sells a special router bit for their HotRod truss rods that is a perfect fit for the rod in the channel, however, the end of the rod doesn't fit through it. I had to widen it a bit with 100 grit to allow the allen socket to slide through and into place. No problem.
Finsihing Up
Buttoning Up The Truss Rod
Here are a couple of shots of the truss rod now caulked into place...a touch at each double nut and a couple of dabs under the plastice sleeves. This should keep it from rattling and from reacting to any harmonic vibrations at resonate notes.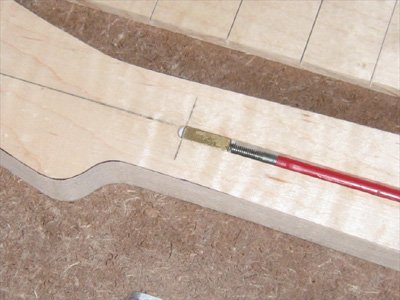
The Fretboard
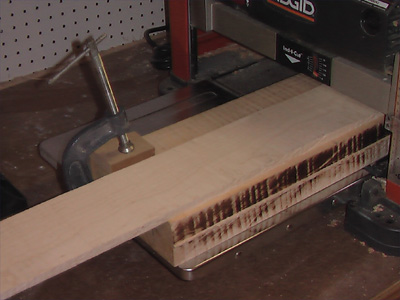
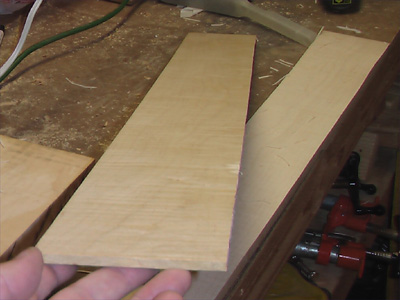
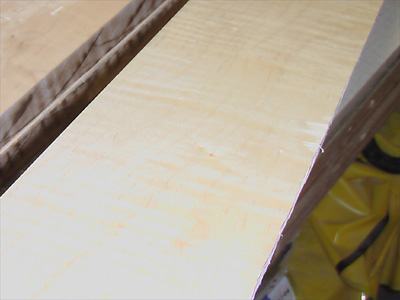
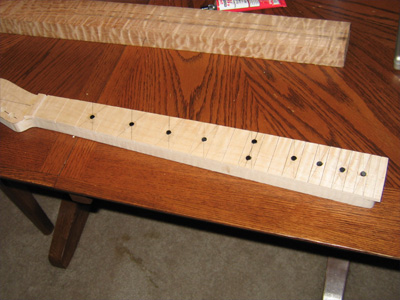
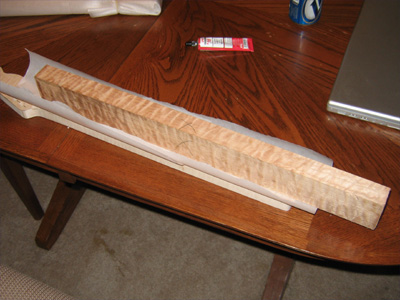
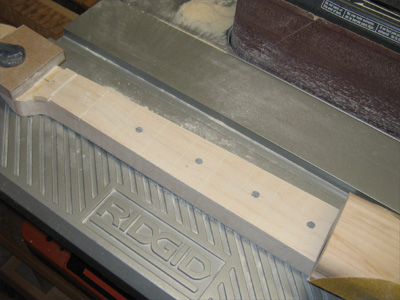
I resawed the fretboard from a flame maple billet...same on the neck came from. It is too thin to run through the planer by itself so I clamped the rest of the billet onto the planer bed to gain some height. Worked great!. I was able to take the fretbord stock down to just slightly thicker than .25". I left enough for radiusing and snading.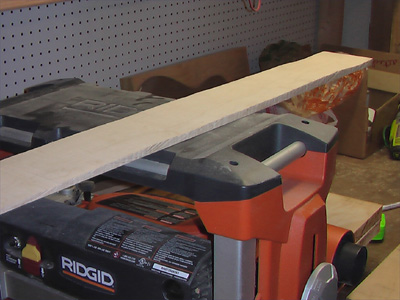
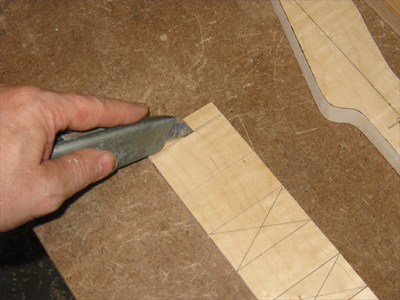
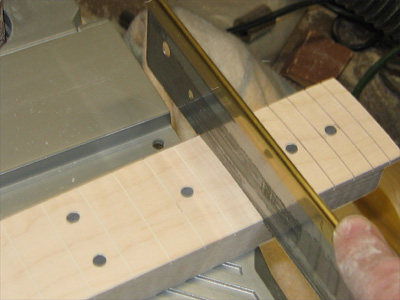
Using the fret miter box and saw from SM along with the fret scale template, I set up to cut the fret slots. This miter jig is a good idea but it is a bit less than user friendly. The 4 seperate height adjustments could really benifit from being mounting in slots to keep them perpendicular to the fence. I also didn't care for having to use double stick tape to hold the stock in place...there's gotta be a better way. It held it down fine but when it came time to remove it from the template, it took alot more force than I was sure the slotted stock could take. It came out fine but it was scary!
Once I got the jig setup and ready to saw, it went very smoothly. I cut all 24 slots in about 10 mins. I went ahead and made 2 while I was at it.
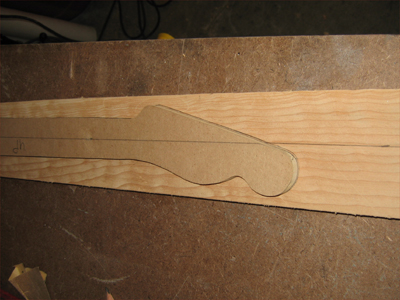
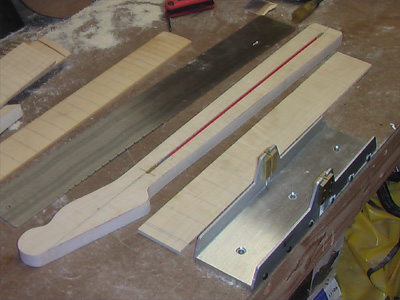
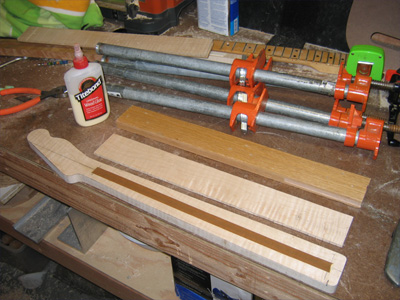
Here you can see all the components laid out and ready to be glued up.

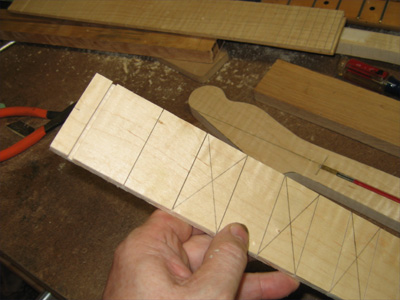
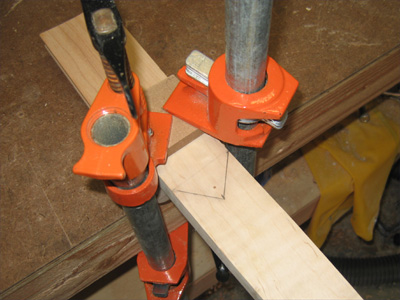
Now I'm ready to glue up the neck. I also took the time now to remove the extra wood from the nut slot and mark the fret positon markers.


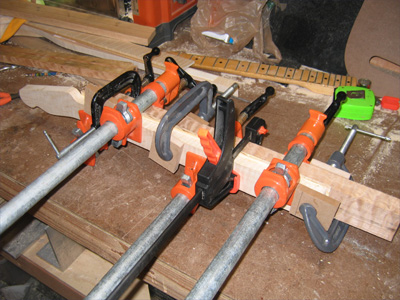
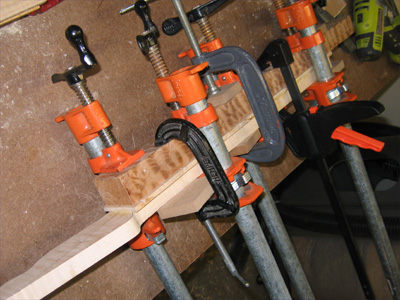
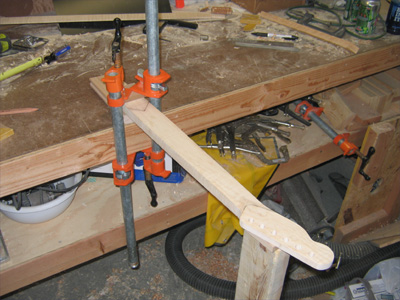
Now, we're ready to go! I sized all of my clamps before spreading the glue and made sure everything was lining up with my centerlines. I have placed a strip of masking tape over the truss rod to keep from spreading glue into the channel. Just before I clamp it up, I'll remove the tape. The pressure from clamping should spread glue to the edges of the channel but not inside it.
It was a bit tricky getting this glued up. As clamps were applied it changed the pressure from side to side making it tough to keep things lined up. I'm thinking that pinning the neck and fretboard through the nut slot and the 12th fret markers before gluing would eliminate this. I'll have to try that on the next one.

Fret Position Markers and Profiling the Fretboard
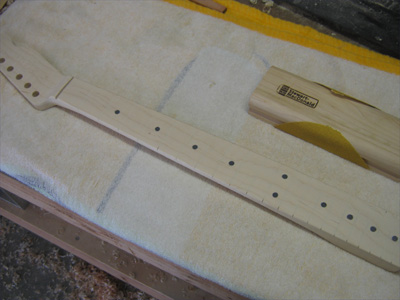
I decide to cut the dot marker reccesses by hand so I would have full control and be able to hand fit each one...it went very quickly. I marked the center of each position with an awl, then used a .25" bit to drill them out.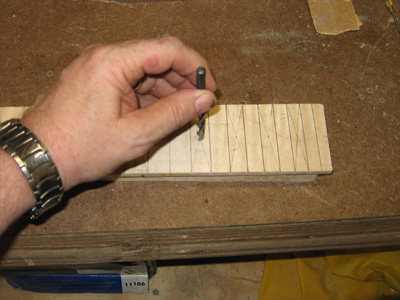
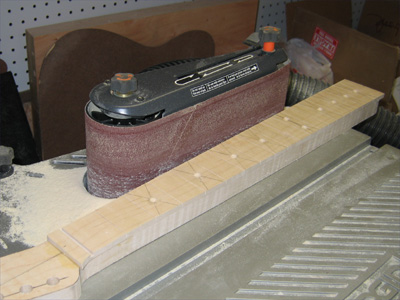
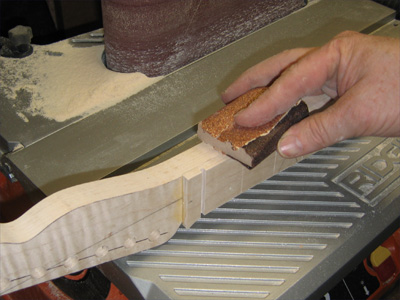
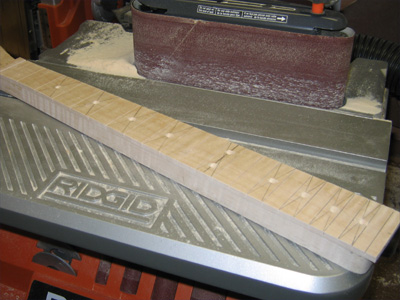
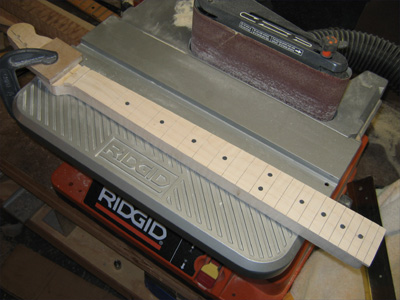
Then I moved on to profiling the fretboard to the neck. I could have used a router and pattern bit but I really like the control I have with the belt sander. Plus with the fretboard extending past the butt of the neck, I didn't want to risk the router slipping around a corner and cutting it off. The curves at the nut were delicate enough that I blocked them out by hand so I didn't get any tear out or split edges.
Here, I have all of the markers glued in place with Weld On cement. And then I placed a bit of weight on them and let them cure over night.
Fretboard Radius and Leveling
The next morning I began the radius process. I blocked it out with a 12" radius sanding block and 100 grit paper. I was really surprised how quickly it went...only about 15 mins and I was being very careful to keep my motions true to the line of the fretboard. I would think ,with some practice, you could do this in 10 mins easy. You can see from the shots that the block first made contact with the outter edges of the flat fretboard and then gradually rounded it until all of the pencil markes were gone and the markers were flush with the newly radiused surface.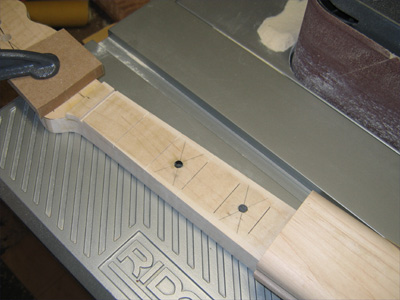

After I was confident I had everything smooth, I cleaned out the fret slots. The SM fret saw only cuts on the pull stroke, so I used the push stroke to clean them out and not risk cutting them deeper.
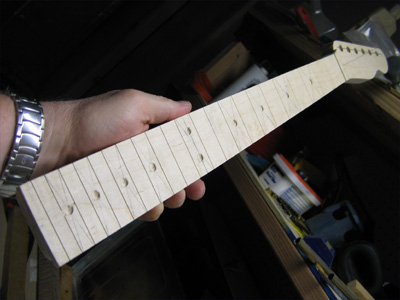
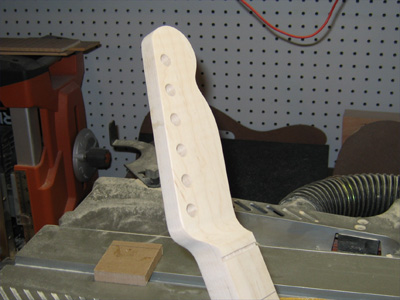
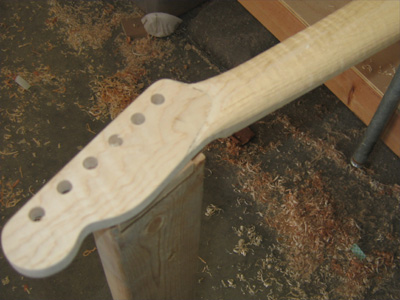
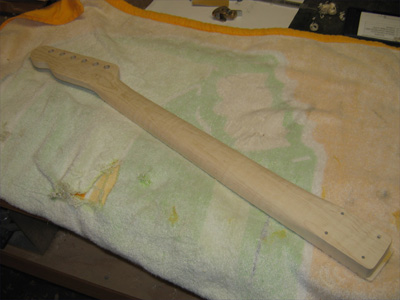
Viola! A couple of hunks of wood and some black plastic dots now ressemble a guitar neck!
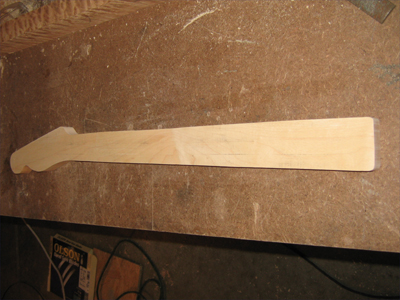
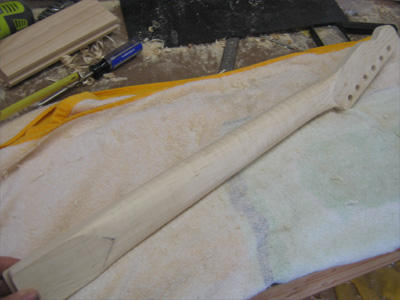
Tonight, I shaped the headstock and rounded out the fretboard extention. I still need to fill a bit of tear out around the fret markers, add the side markers and carve the back profile.


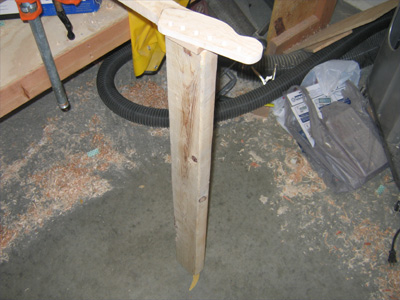
Carving the Neck
Next step is to shape the neck. A simple setup that supports the neck on both ends gives me access to most of as I carve. There's not much to describe here except that I used an Ibex plane with a rounded sole to do most of the carving. I know there are faster ways of doing it but I reallt like the control I get with a small plane and you would be surprised how much you can remove very quickly. This process took me about 45 mins. And with a small plane, I know I'm not going to slip and gouge something or take off part of the headstock by mistake.

This is just a rough in. I'll set the neck on the bench and take it to final thickness later.

Final Carving
With the main profile roughed in, It's time to dial in the final feel of the neck. The choice here is a fairly thick C shape @ .895" up to the 12th fret that gardually tranitions into a flatter D shape @ .885" closer to the heel. I left both marks about .005" less than this at this stage leaving me room to sand later. I used digital calipers to check the thickness as I carved. This set of calipers has the reset switch right on the fron face where my had rested and it kept resetting...took me awhile to figure out how the display was changing even though I had the calipers locked off. So, I set my depth, locked them and shut 'em off. Problem solved.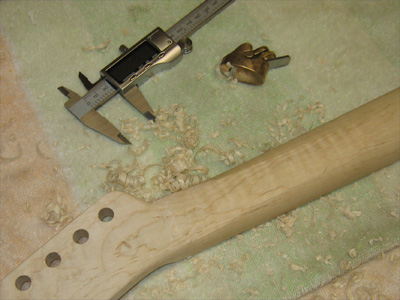

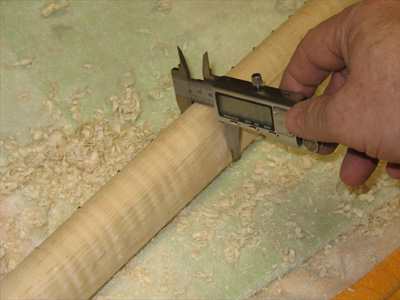
As I worked along, I used my finger to guide me on depth, stopping to check with the calipers when it felt close. Of course, I didn't have my hand down while planing...even though the plane has a round, smooth front, one slip and I could have taken a shaving sized piece out of my finger. It took a few minutes to get the rhythm going but it worked out really well.


Truing Up the Fretboard
Even though I had already radiused the fretboard, it needed to be trued after the carving. I used the same method as when I set the radius...120 grit on a 10" radius block... except that I drew pencil lines on the board to guide me. When all the marks are gone, I know I'm getting close. This wasn't neccesary when setting the radius because the wood was unsanded and it was very easy to see what had not been touched by the sandpaper.
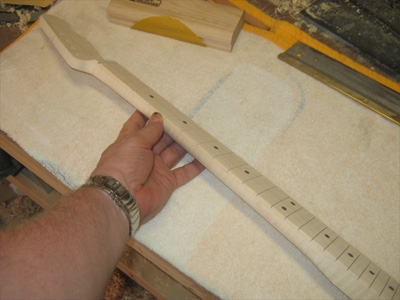
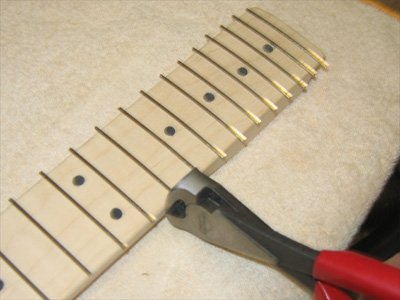
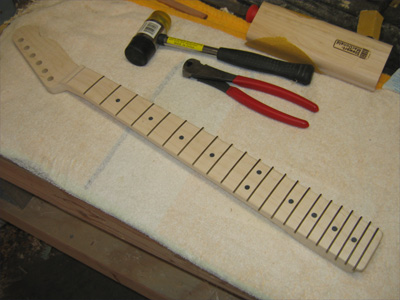
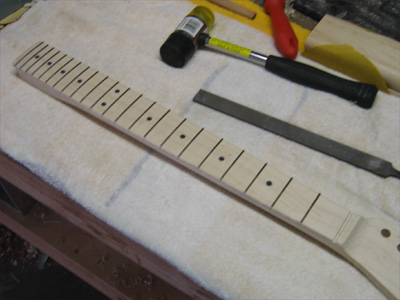
Installing the Frets
Nothing magical here. I over radiused the fret wire, cut it to legnth and tapped it in starting at the ends of the fret, then drove the center in. This keeps the ends of the wire from popping up. I tried to keep 8 or 10 frets cut ahead of me so I wasn't picking up the hammer 22 times...not that I mind the work, it just reduces the movement of heavy tools across the neck/fretboard...fewer chances of a bad tool transfer. I pass with nippers takes care of the extra wire and a quick touch up with a file along the edges of the fretboard helps protect my fingers until final leveling and dressing of the frets.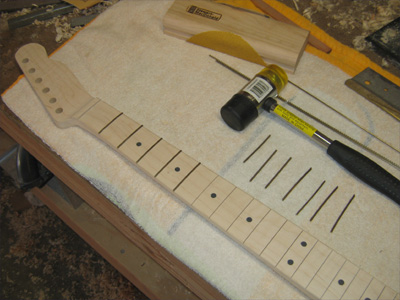
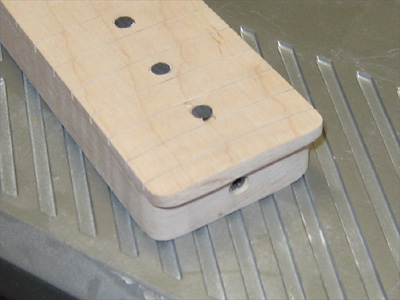
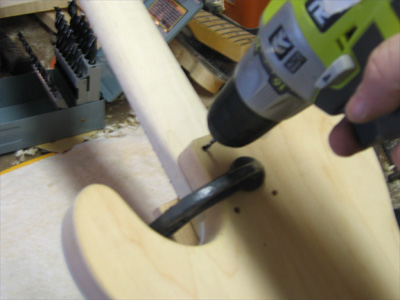
Mounting the Neck
I clamped the neck into the body, using a wooden caul on the fret side of course, and then used a hand dril to lightly mark the hole for the neck. I then moved to the drill press to finish up...note the tape on the bit as a depth reference. I probably should have used the depth stop on the Mark V quill but I was a bit unsure with a rounded fretboard down on the table. I felt better having a visual above where I could keep a close eye on it.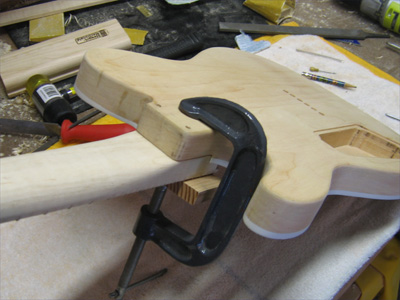

The Neck Finish
I wanted a vintage amber finish for the neck so I set out testing various combinations of tints and dyes. I eneded up using Mixol Yellow with just a touch of red to get this color. Here it is in 3 different lighting types.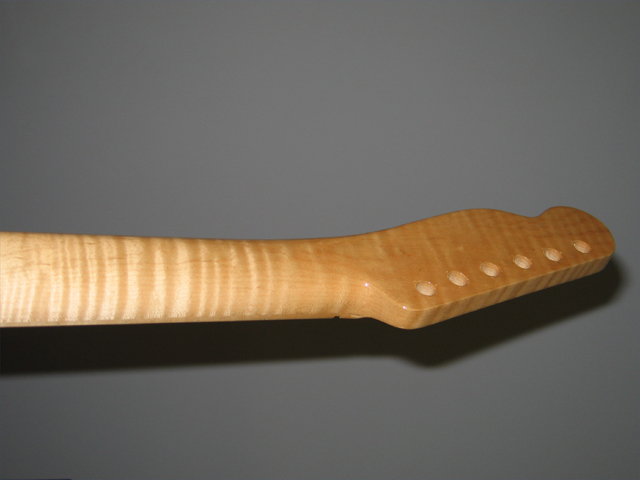
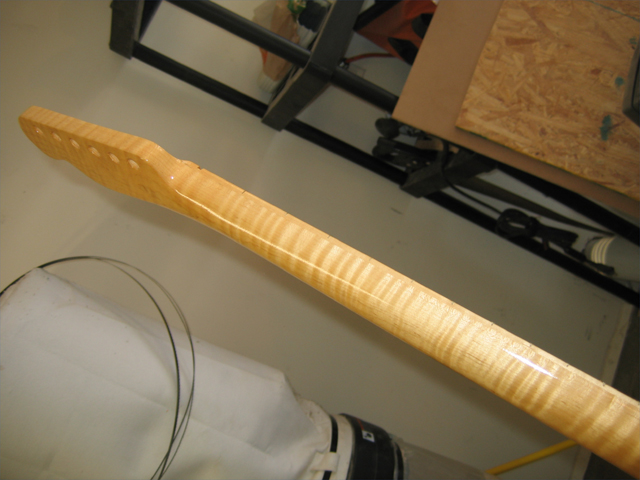
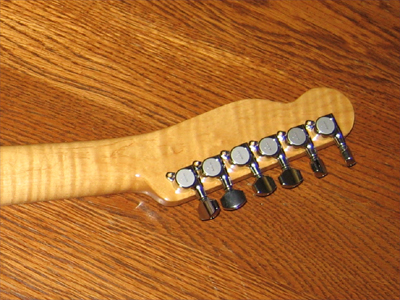
And here are some more shots with the tuners set in place. I am very pleased with the color and flame. I need to wet sand it and add final clear coats.


| Previous | Home | Next |